

Pop-up
- Home ›
- Using WordPress ›
- Site Editing ›
- Pop-up
Pop-up
Easily add a pop-up to your Dirigible website. Your visitors will only see this pop-up the first time they visit your site.
The tools to add a popup to your website are built right into the Dirigible theme. You can use this popup to display a call to action or to embed a Gravity Form.
Enabling the Popup
You can find all the controls for managing and enabling your pop-up in the Customizer. To access the Customizer, go to your site dashboard and navigate to Appearance → Customize.
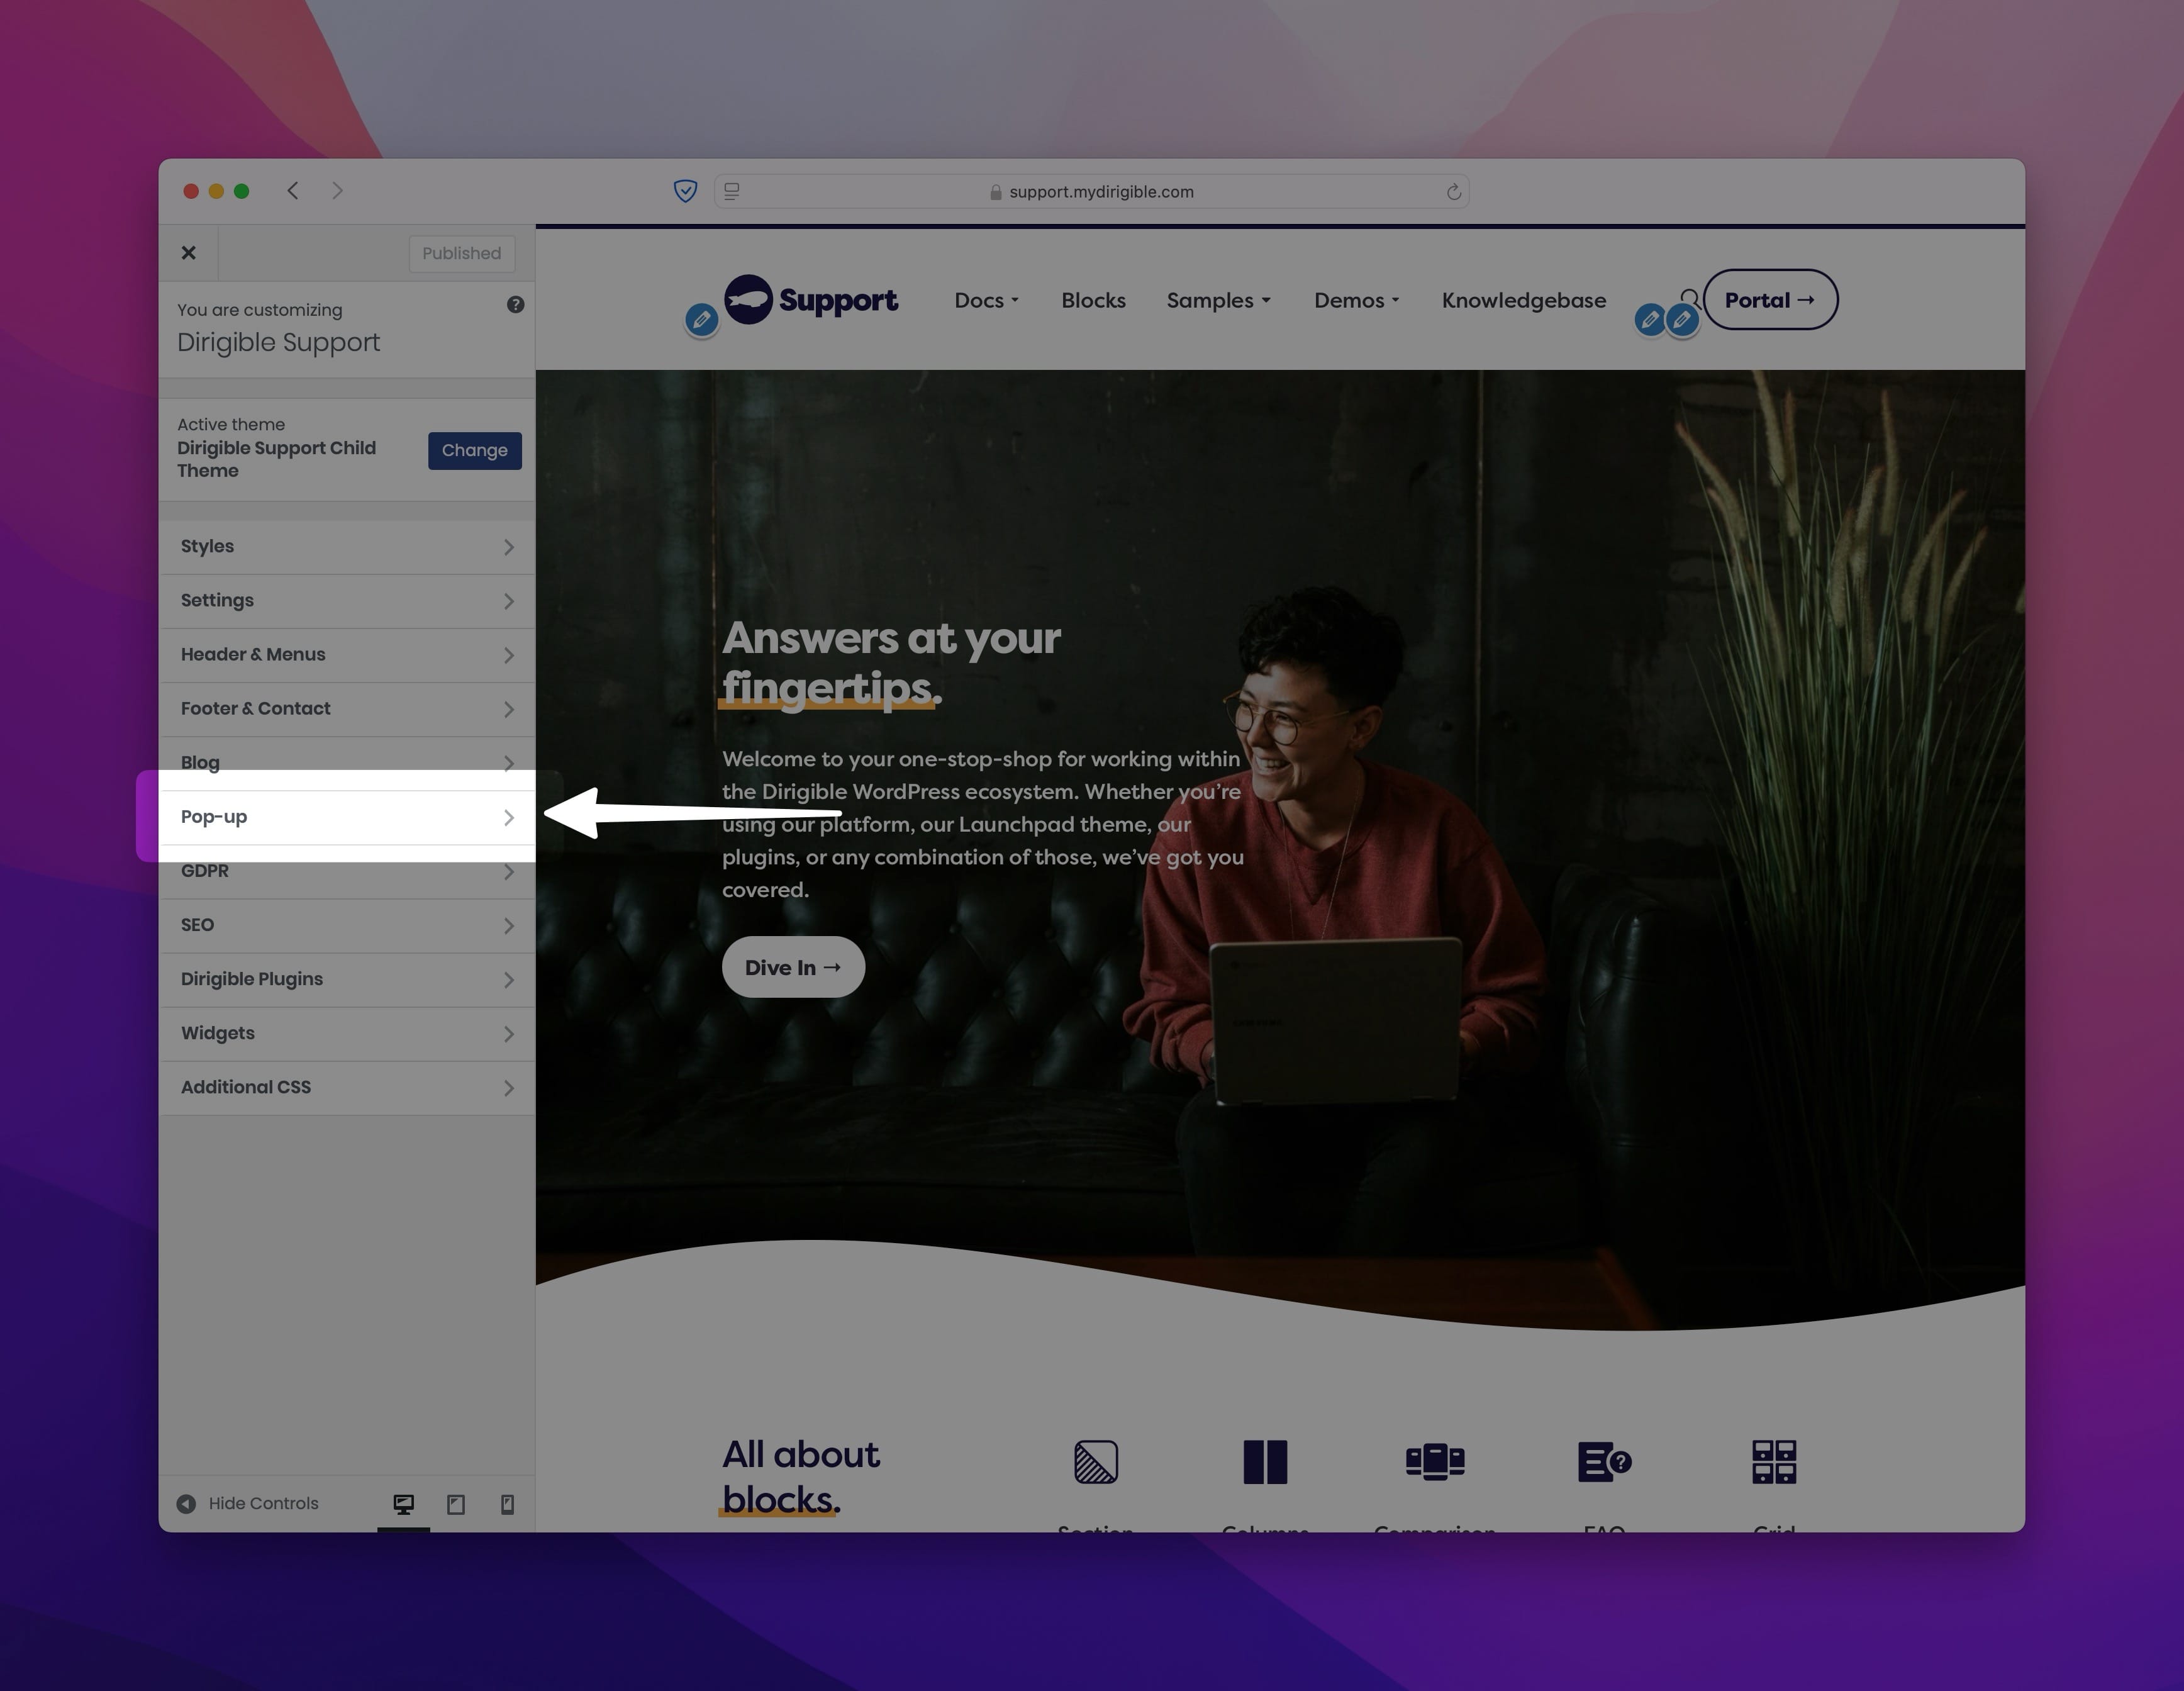
From the customizer, select the Pop-up settings.
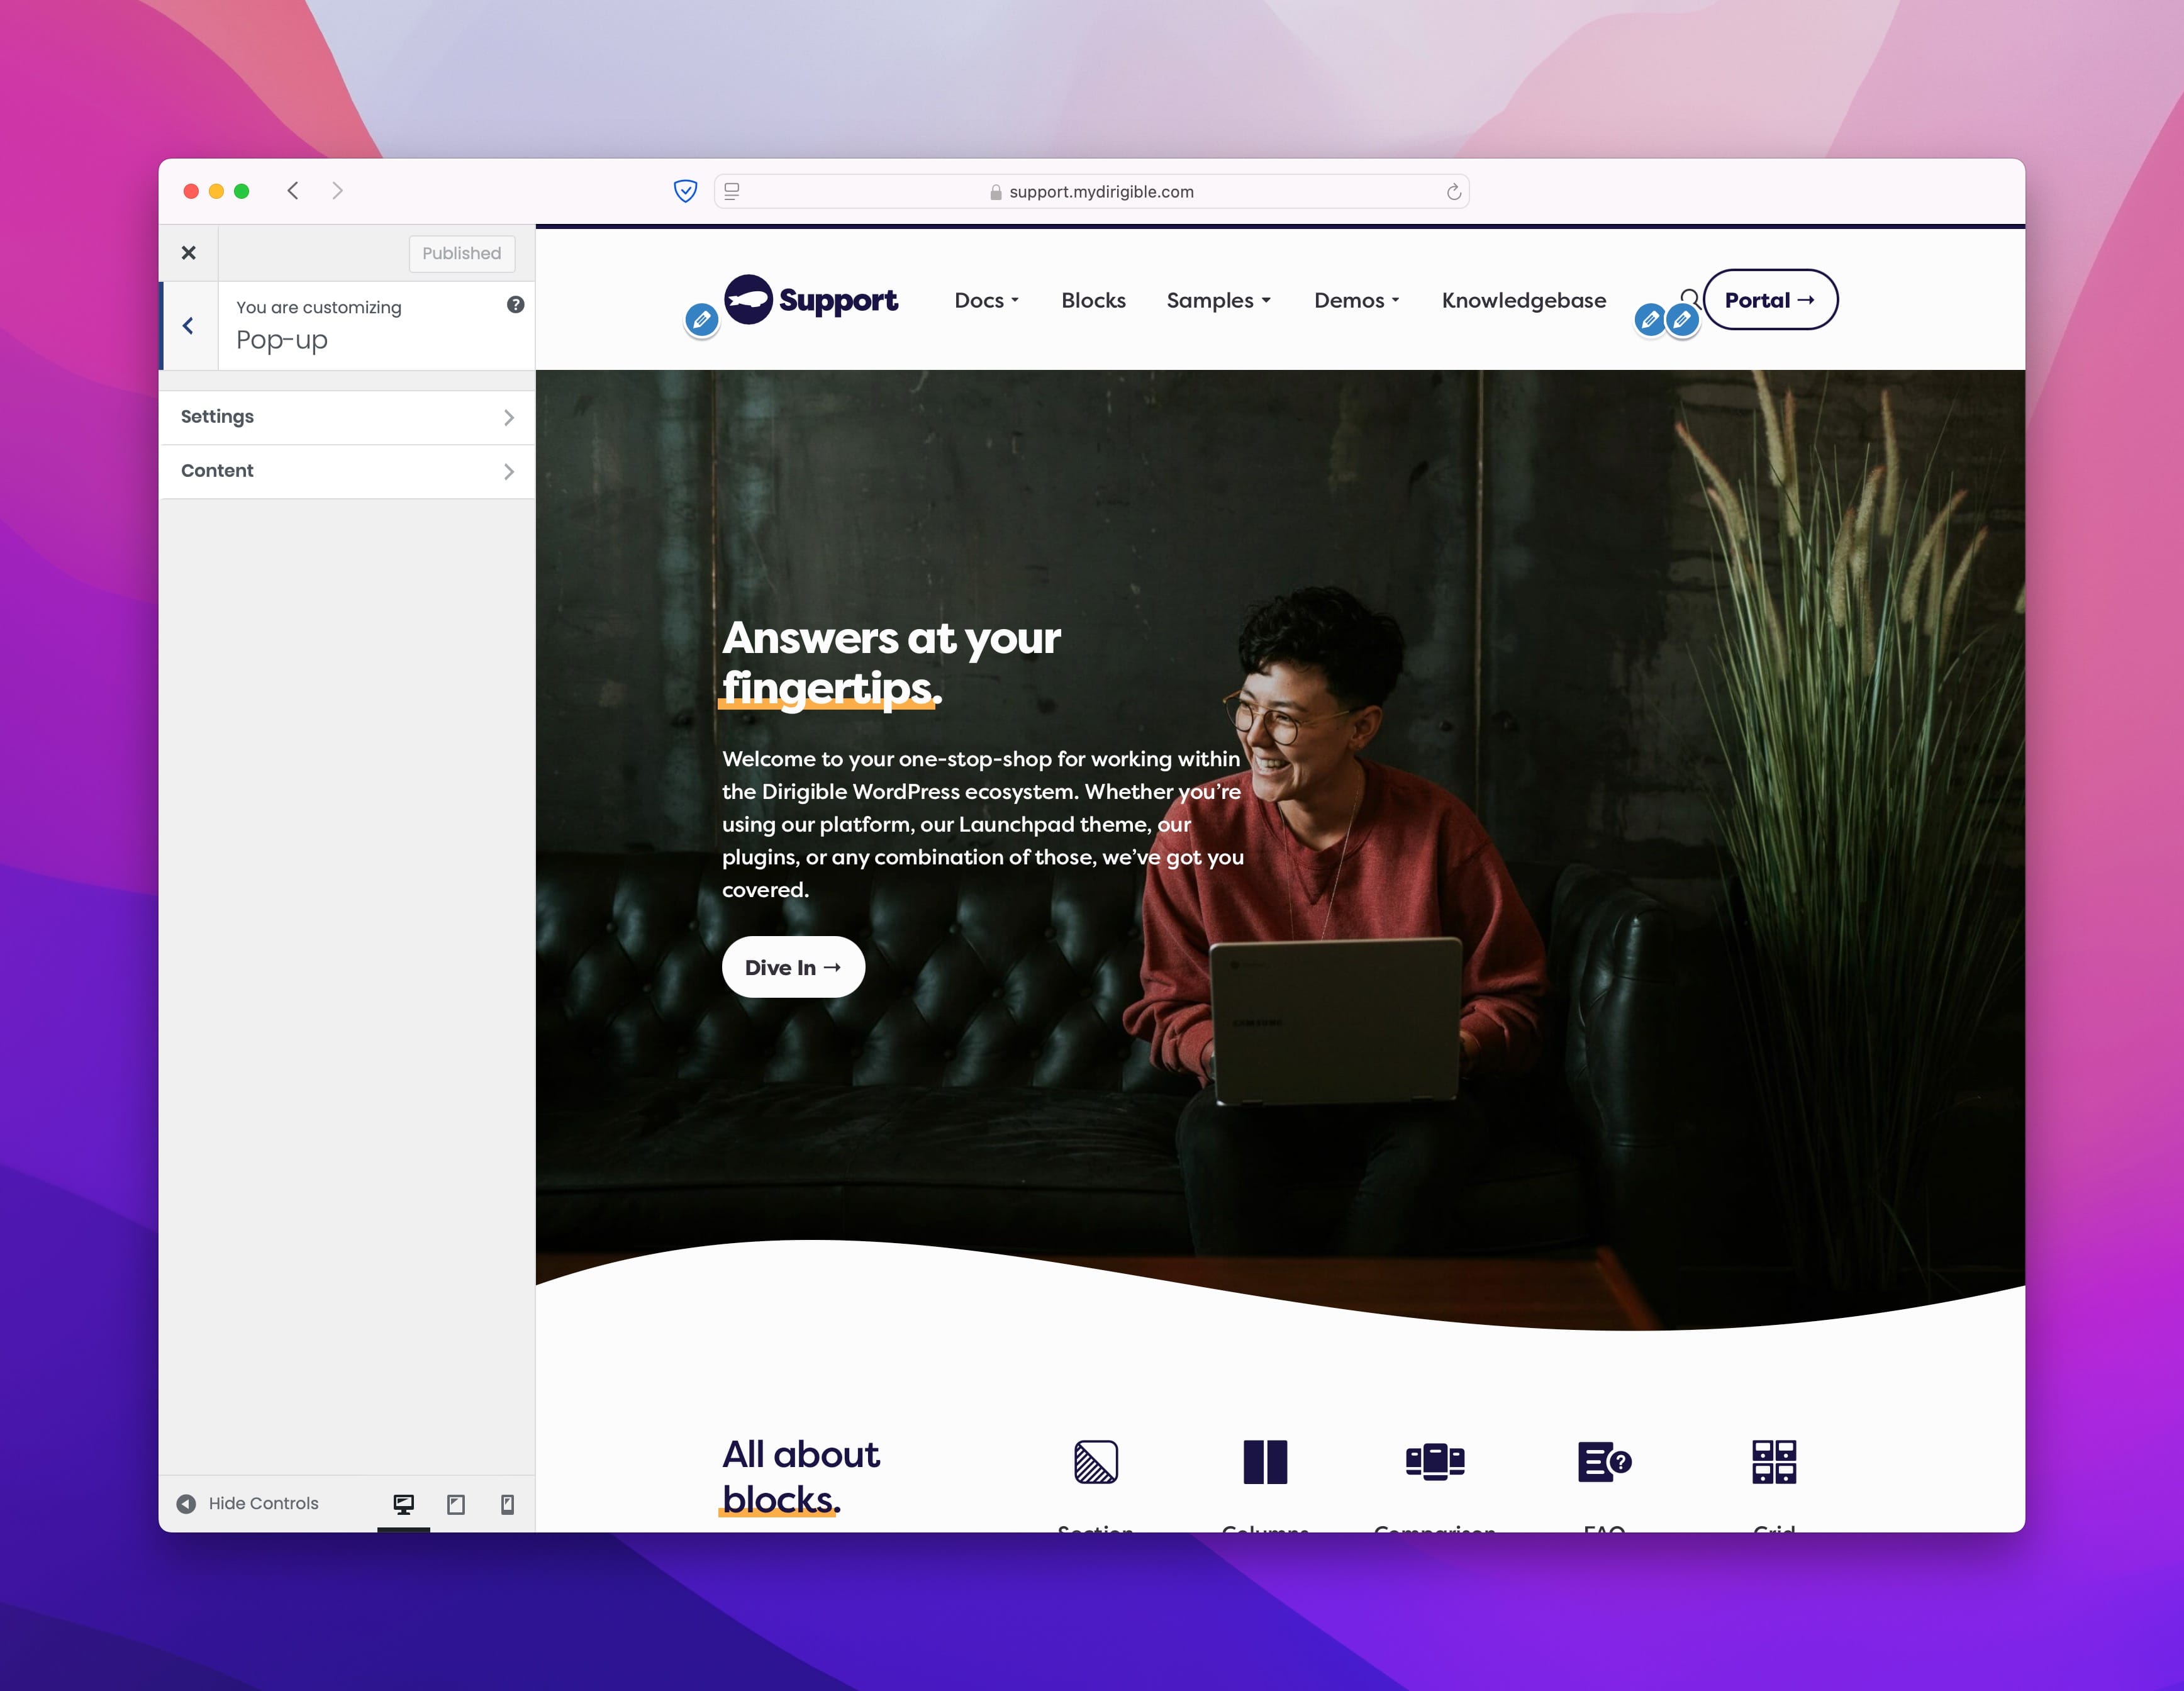
In the Pop-up settings, you’ll find two categories of options. The Settings options control the behavior of the pop-up, such as when and where it appears. The Content options dictate what content is displayed within the pop-up itself.
Settings Options Overview
The Settings panel allows you to customize key behaviors and visual elements of your pop-up. Below is a breakdown of each setting and how it affects your pop-up’s functionality:
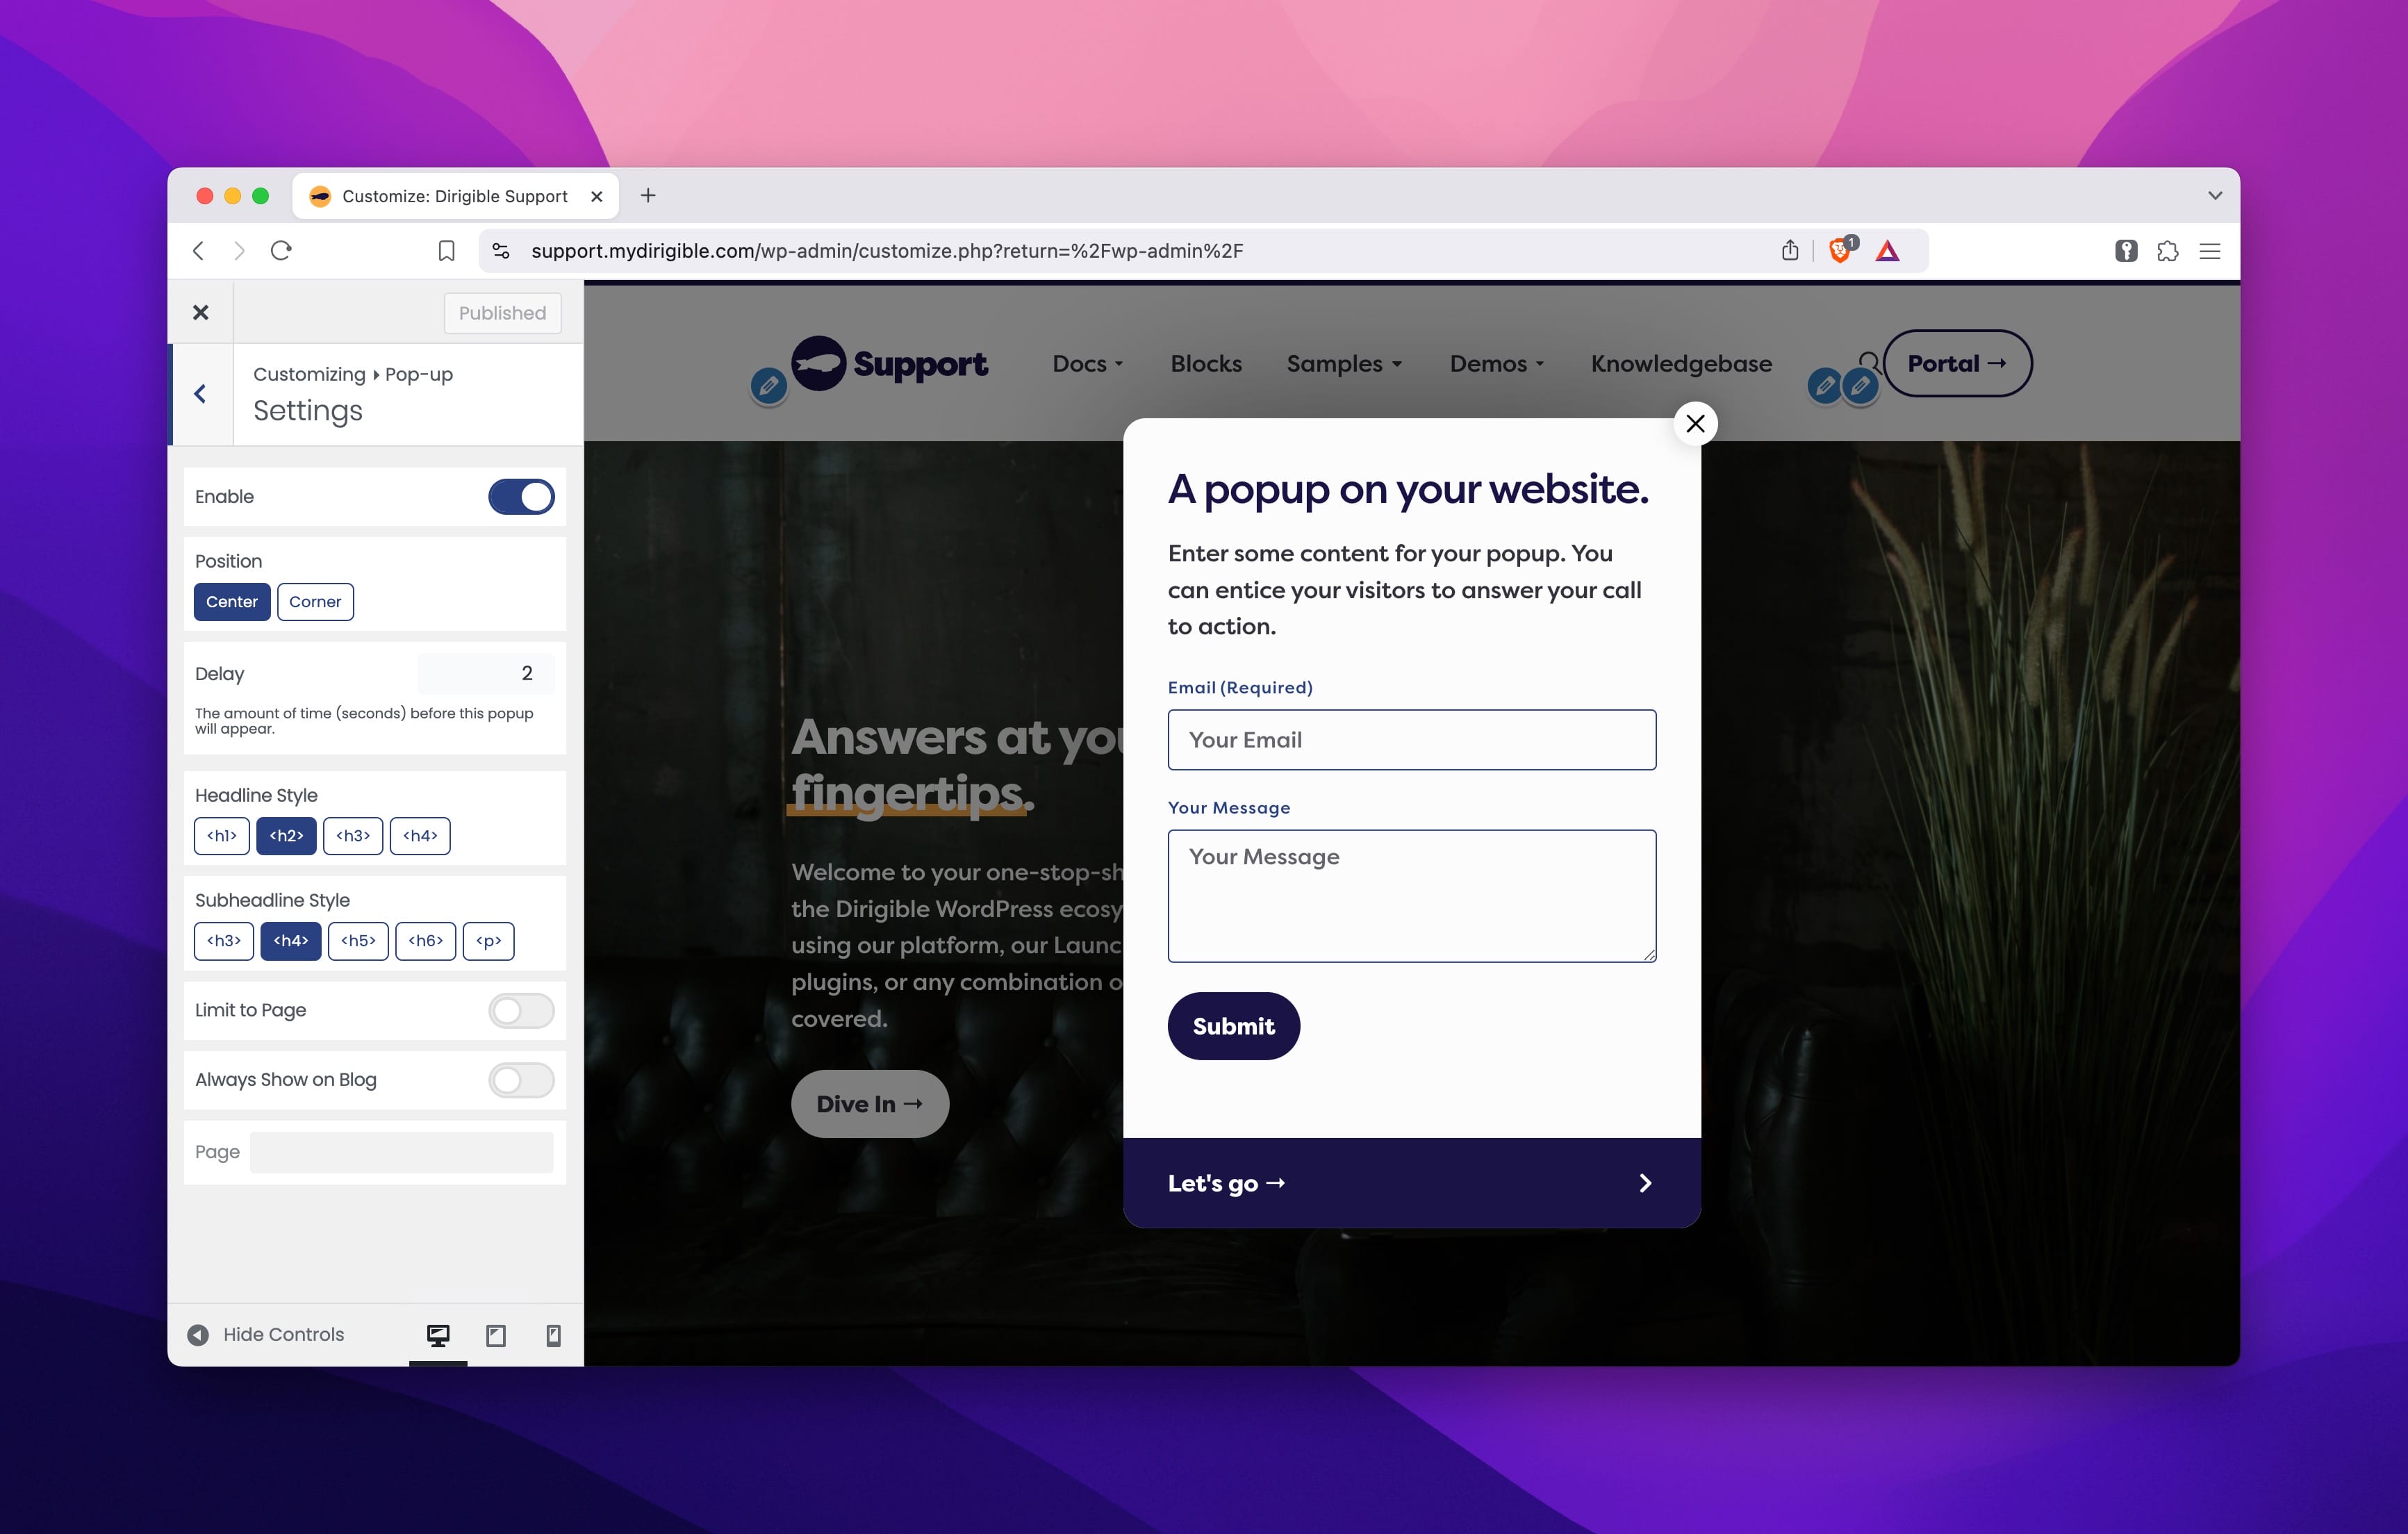
Enable
Toggle this switch to activate or deactivate the pop-up. When switched off, the pop-up is completely disabled. When switched on, the pop-up will always appear in the Customizer, allowing you to adjust its design and content, regardless of whether you’ve previously seen it.
Position
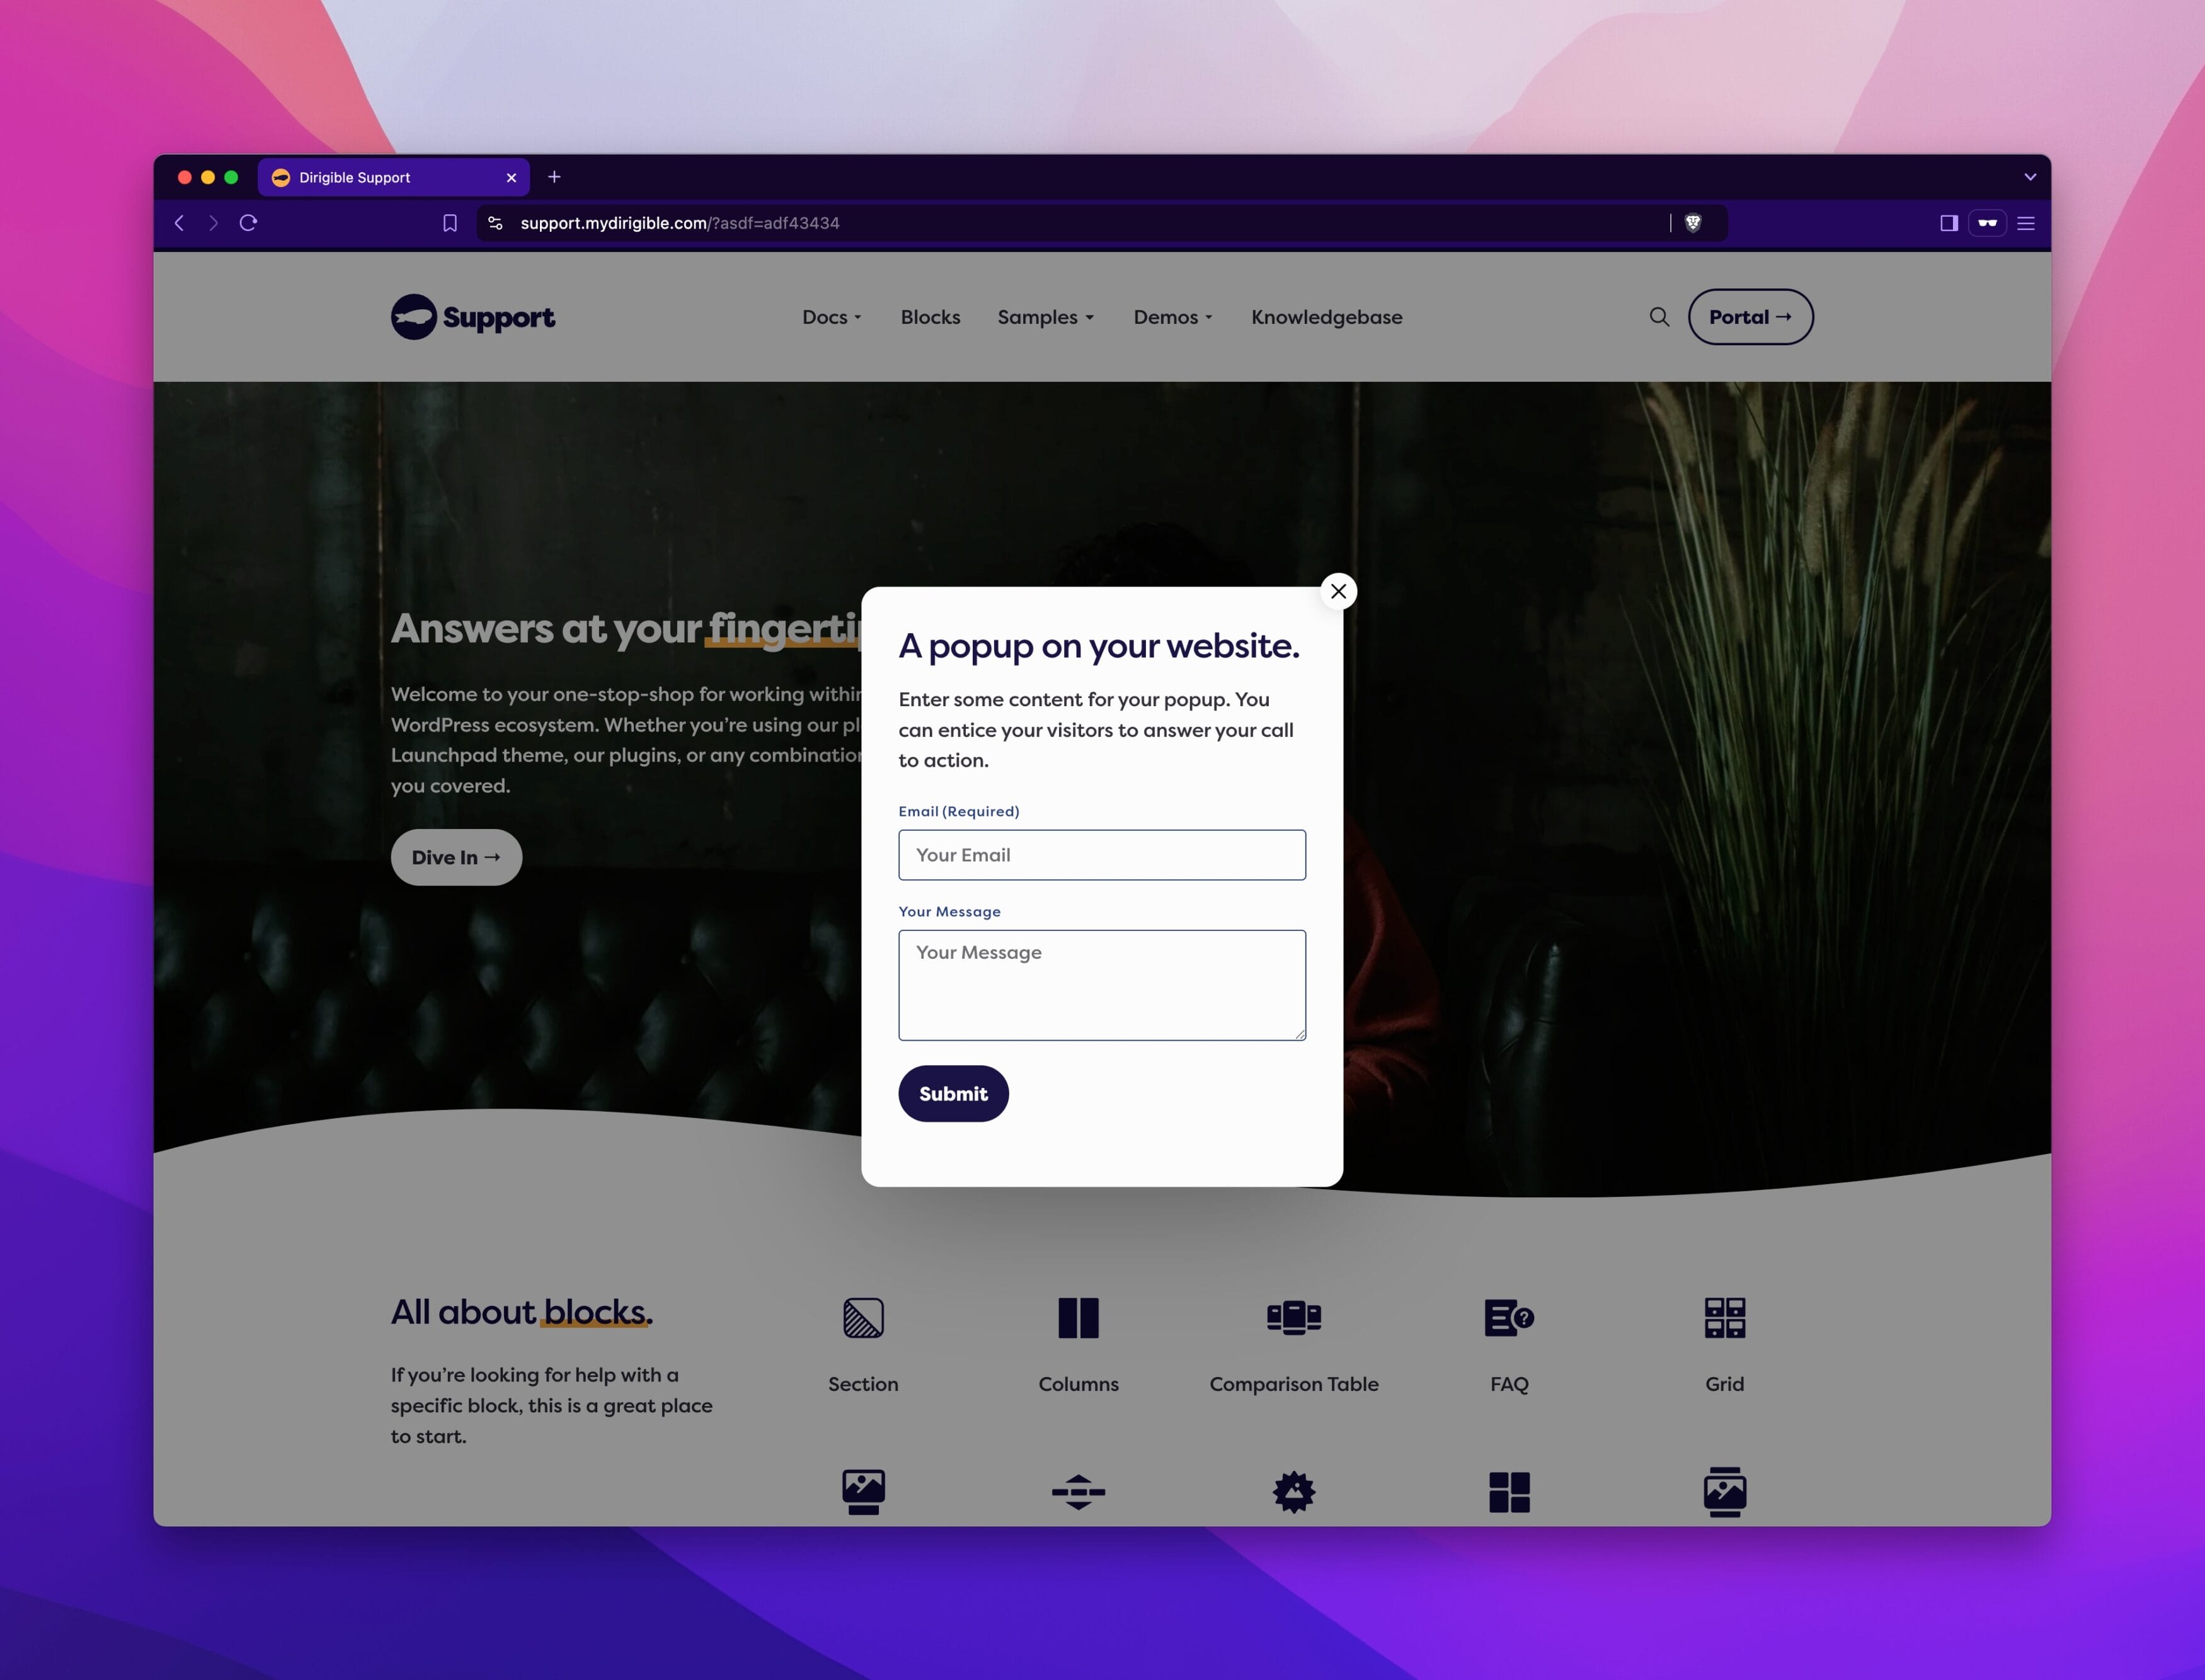
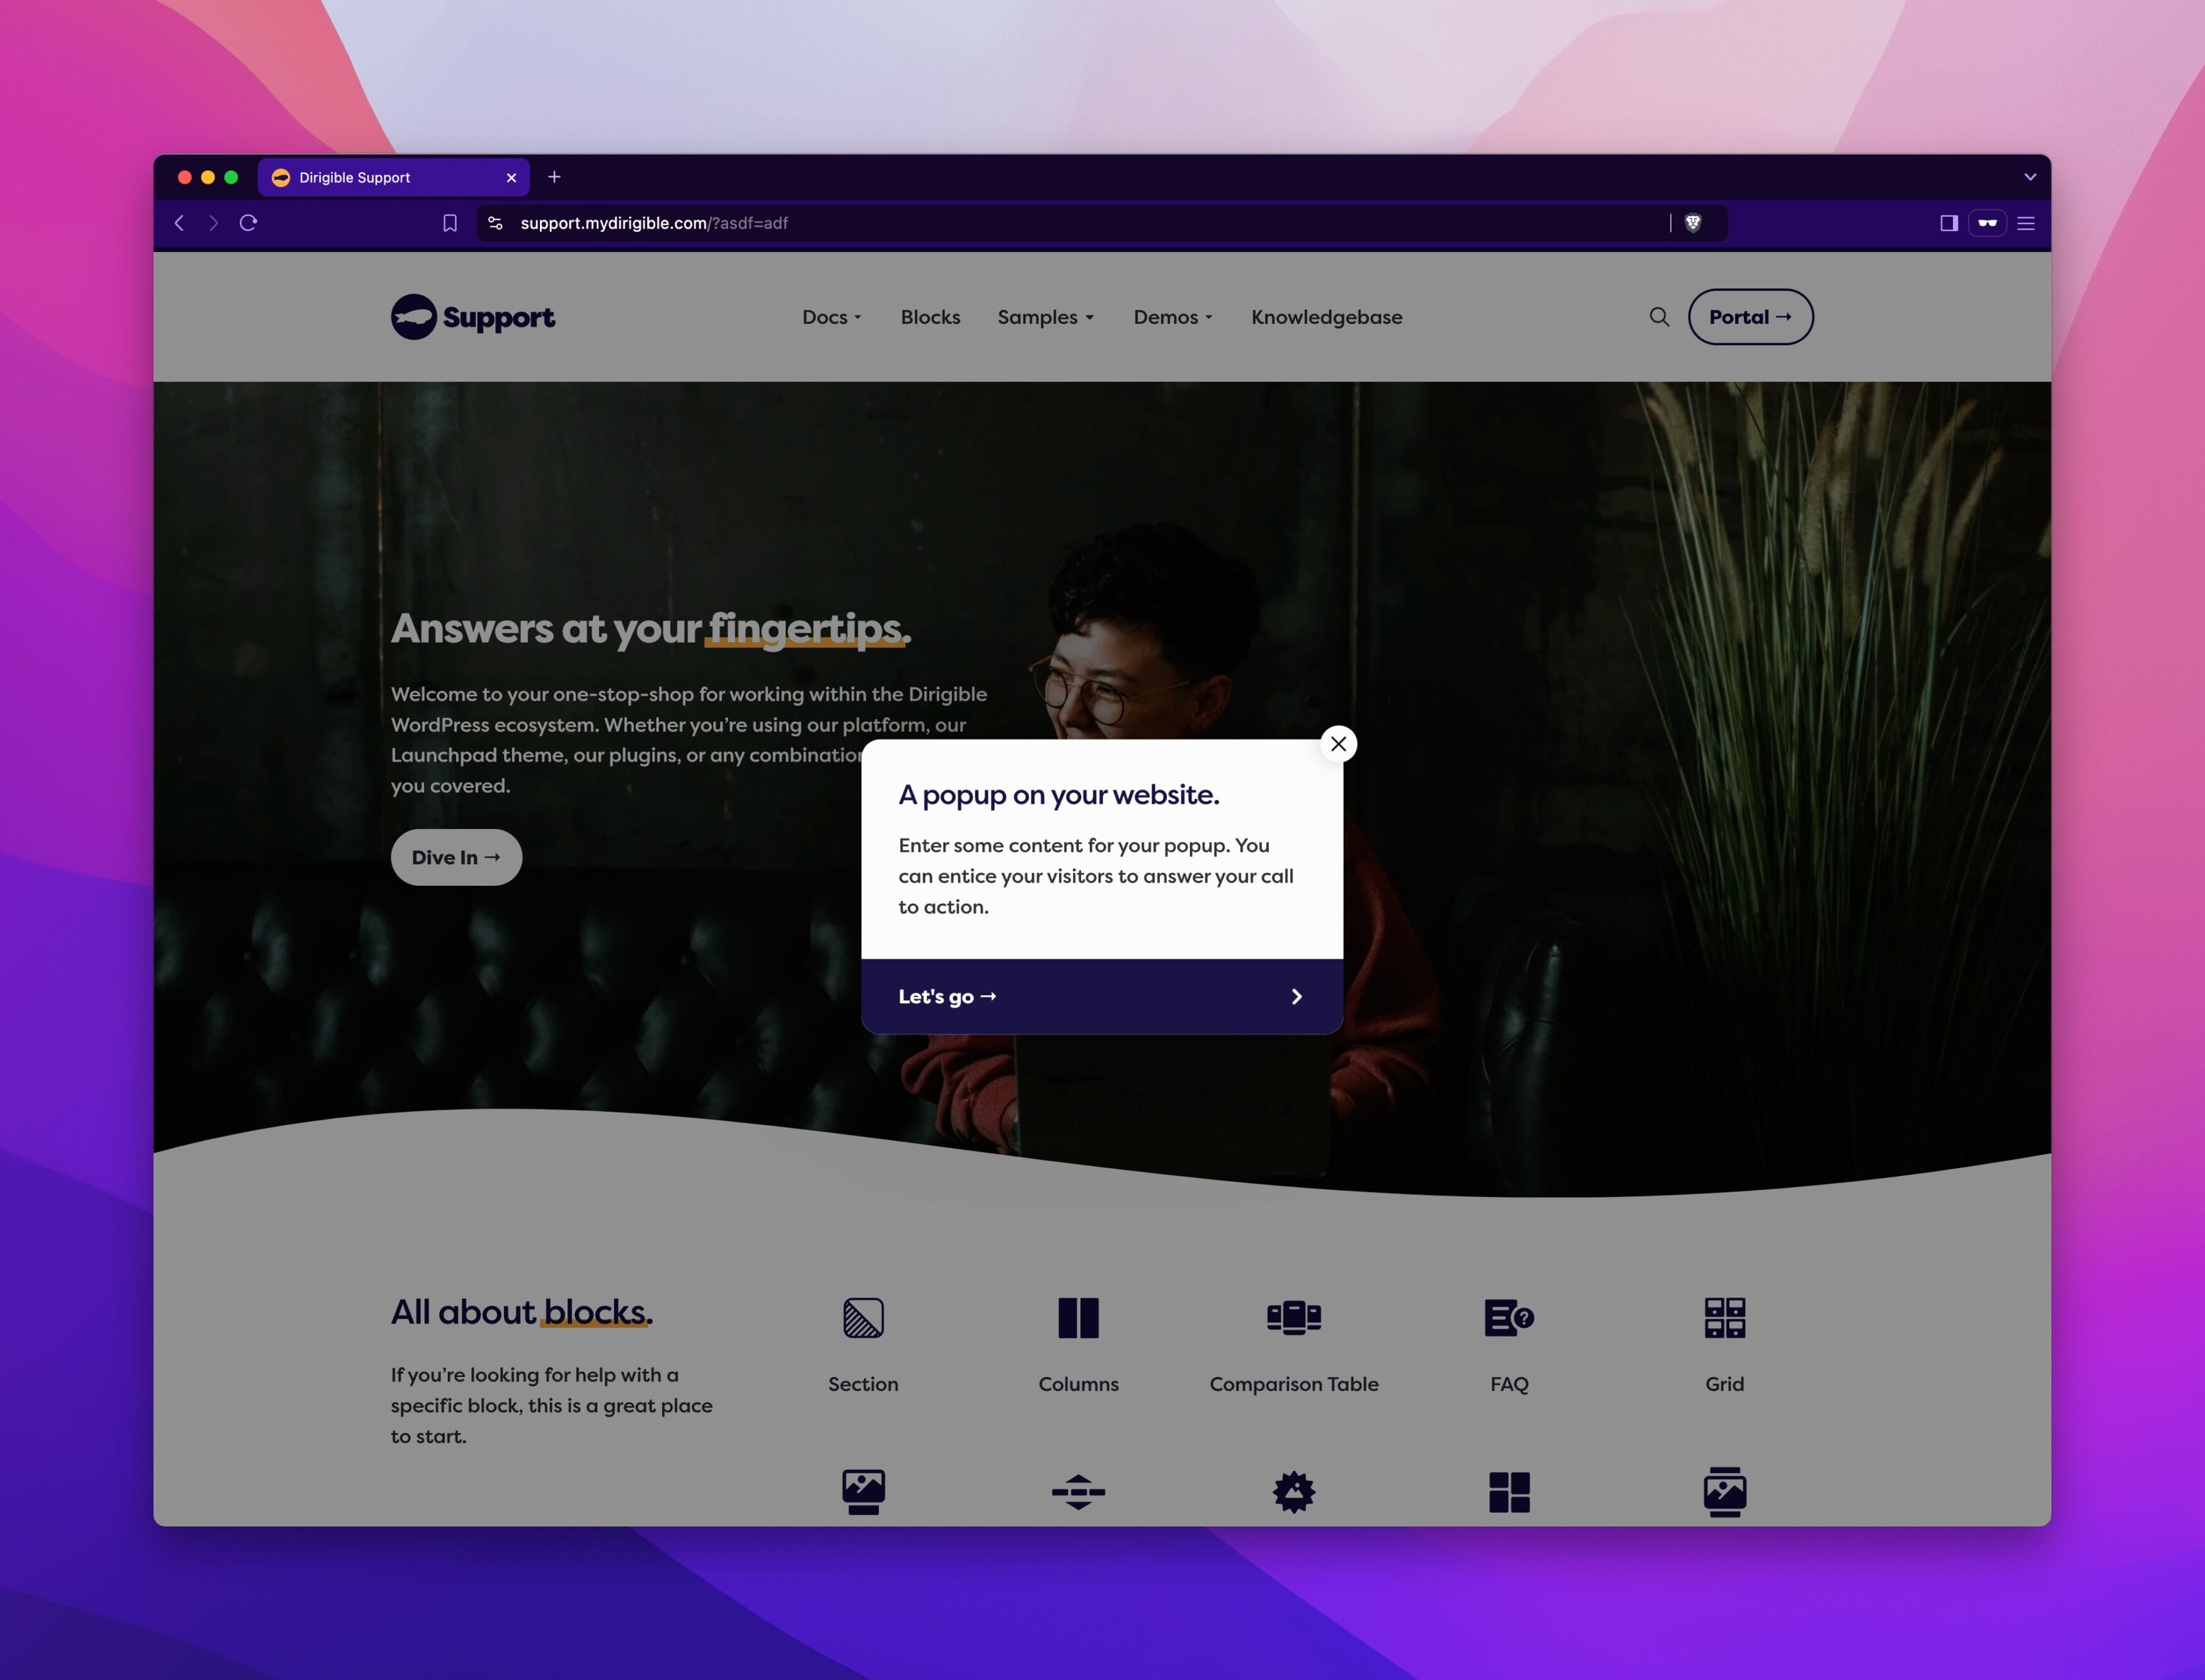
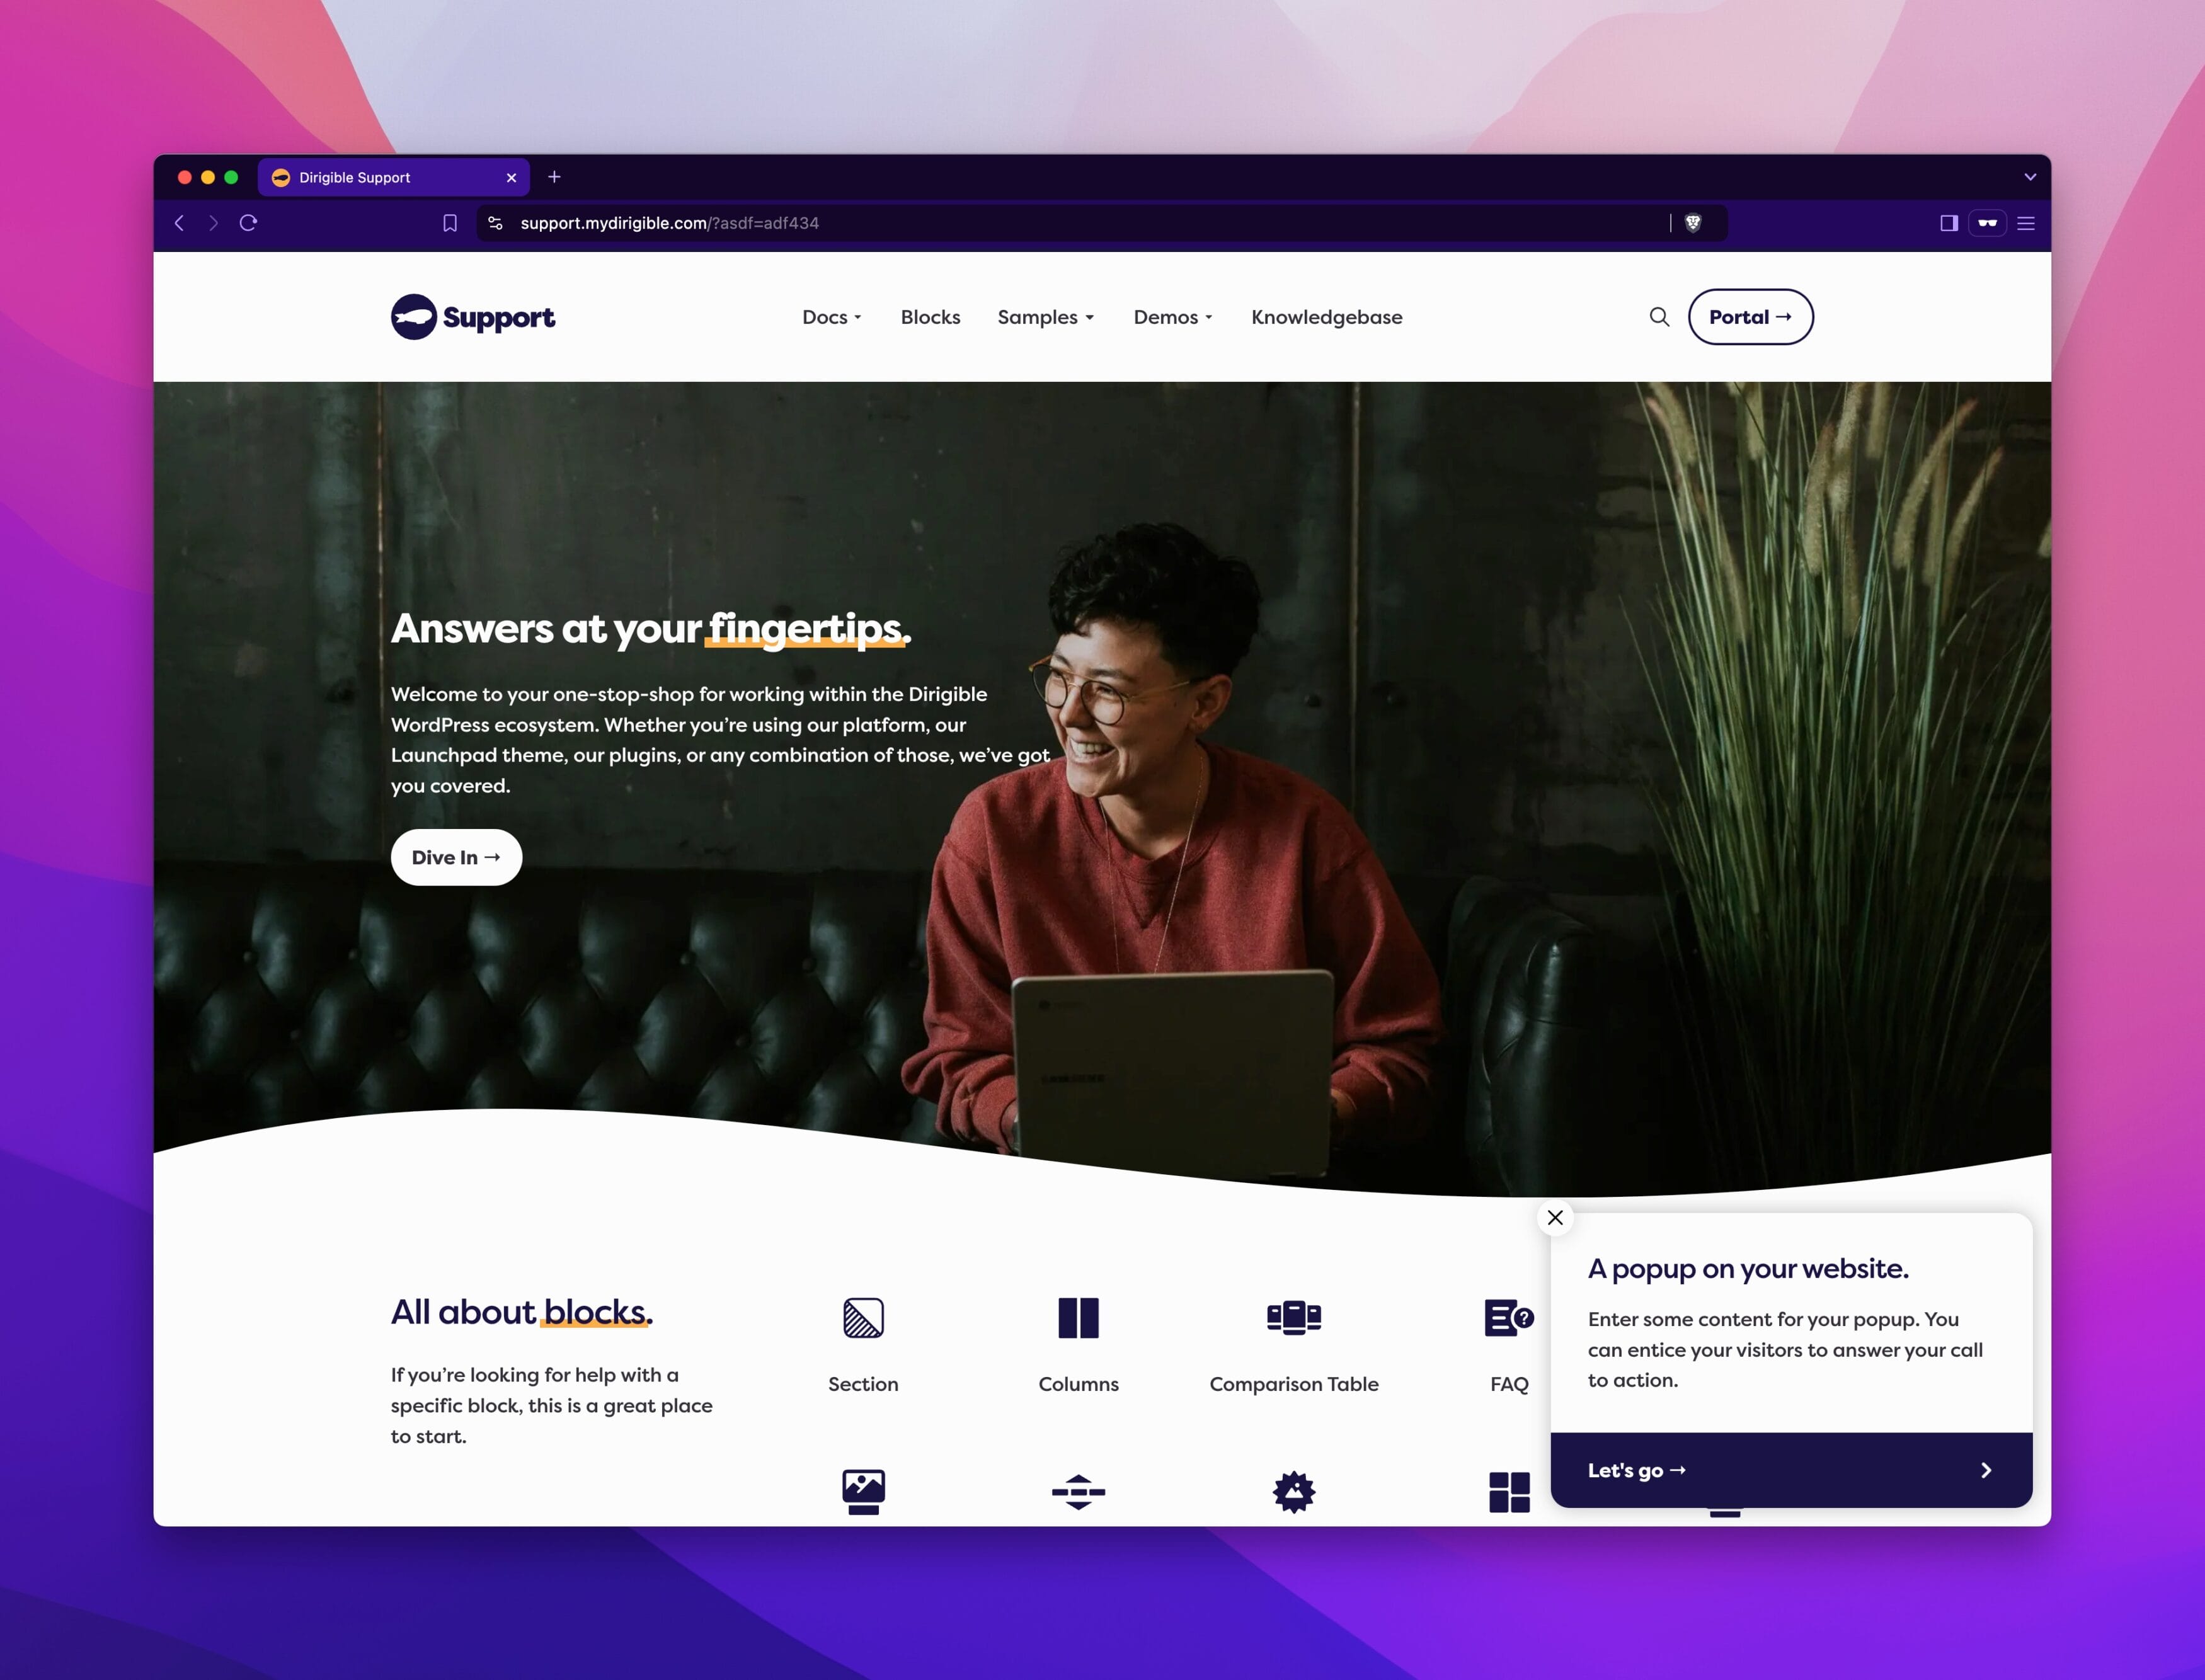
Select where the pop-up will appear on the screen, choosing between a Center or Corner position based on your design needs. In the Center position, the site will display a dark overlay, making the pop-up highly prominent and requiring users to dismiss it before interacting with the page. The Corner position is more subtle, allowing users to continue interacting with the page while the pop-up remains visible.
Delay
Set the number of seconds before the pop-up appears once the page loads. This helps control the timing and avoid overwhelming users immediately.
Headline Style
Select the heading style (from <h1> to <h4>) for the main headline of your pop-up. This setting only affects the visual appearance, as the headline will always be rendered as an <h3> element regardless of the selected style.
Subheadline Style
Select the subheadline style (from <h3> to <p>) for the pop-ups subheadline. This setting only affects the visual appearance, as the headline will always be rendered as an <h4> element regardless of the selected style
Limit to Page
Toggle this option if you want the pop-up to appear on a specific page. Once enabled, you can specify the target page in the Page field below. For example, if you only want the pop-up to appear on the homepage, enable this option and select your homepage from the Page field.
Always Show on blog
Toggle this option if you want the pop-up to always appear on the blog and post pages, regardless of whether Limit to Page is selected.
Content Options Overview
The Content panel allows you to configure the elements that will appear inside your pop-up. Each option helps you define and customize the messaging, visuals, and call-to-actions for your pop-up. Below is an explanation of each setting and how it can be used:

Headline
This field allows you to add a headline to your pop-up. The headline is the first piece of text your visitors will see, so make sure it grabs their attention. We recommend always using a headline.
Subheadline
Here, you can add an optional subheadline to further support the main headline. This text provides more context and reinforces your call to action.
Body (HTML Allowed)
This is where you can enter the main content of your pop-up. Use this field to provide detailed information or instructions for your visitors. You can format the text using HTML for additional styling and content options.
Gravity Form ID
To include a Gravity Form in your pop-up, enter the form ID here. This allows you to capture visitor data directly through the pop-up. Set the ID to 0 to disable the form. Many site owners commonly use this option for newsletter signup forms.
Link Page
Select the page where the pop-up link will direct visitors. This could be your homepage, a product page, or any other destination where you want to drive traffic. If no page is selected, the call-to-action button will not appear. While you can use both a Gravity Form and a call-to-action button, it’s not always recommended to use both simultaneously.
Link Text
Enter the text that will appear on the pop-up button. Both the link page and link text must be set for the button to display. This is a great opportunity to use a clear and compelling call to action like “Let’s go” or “Contact us now”.
Who sees the pop-up?
The pop-up will only appear to visitors once. When someone visits your site, a small file called a cookie is saved on their computer. This cookie tells your website that the visitor has already seen the pop-up, so it won’t show up for them again. This also applies to you when you’re visiting your own site—you’ll only see the pop-up one time. Don’t worry, your pop-up is still working! If you want to check it again, you can open your site in an incognito window or use a special url to bypass the cache.
Automatically resetting the Pop-up
Every time you make changes to your pop-up, like updating the content or settings, the cookie for the pop-up gets updated with a new ID. This means that after any changes, all visitors (including those who have seen the pop-up before) will see it again.
Manually resetting the Pop-up
You can also manually reset the pop-up cookie in your admin dashboard if needed by visiting the main Dirigible menu page at Dirigible → Dirigible.

To let your visitors see the pop-up again, just click the Reset button under the Reset Popup Transient tool on this page. This will refresh the cookie, so the pop-up will be shown to everyone once more.