

Knowledgebase: Blocks
How to Use Price Lists
Learn how to present your products and services with their respective prices to keep your customers coming back for more! Our Price List Block is an essential design tool created to help you communicate your business information to your customers in a clear, concise way.
Steps to Adding a Price List Block:
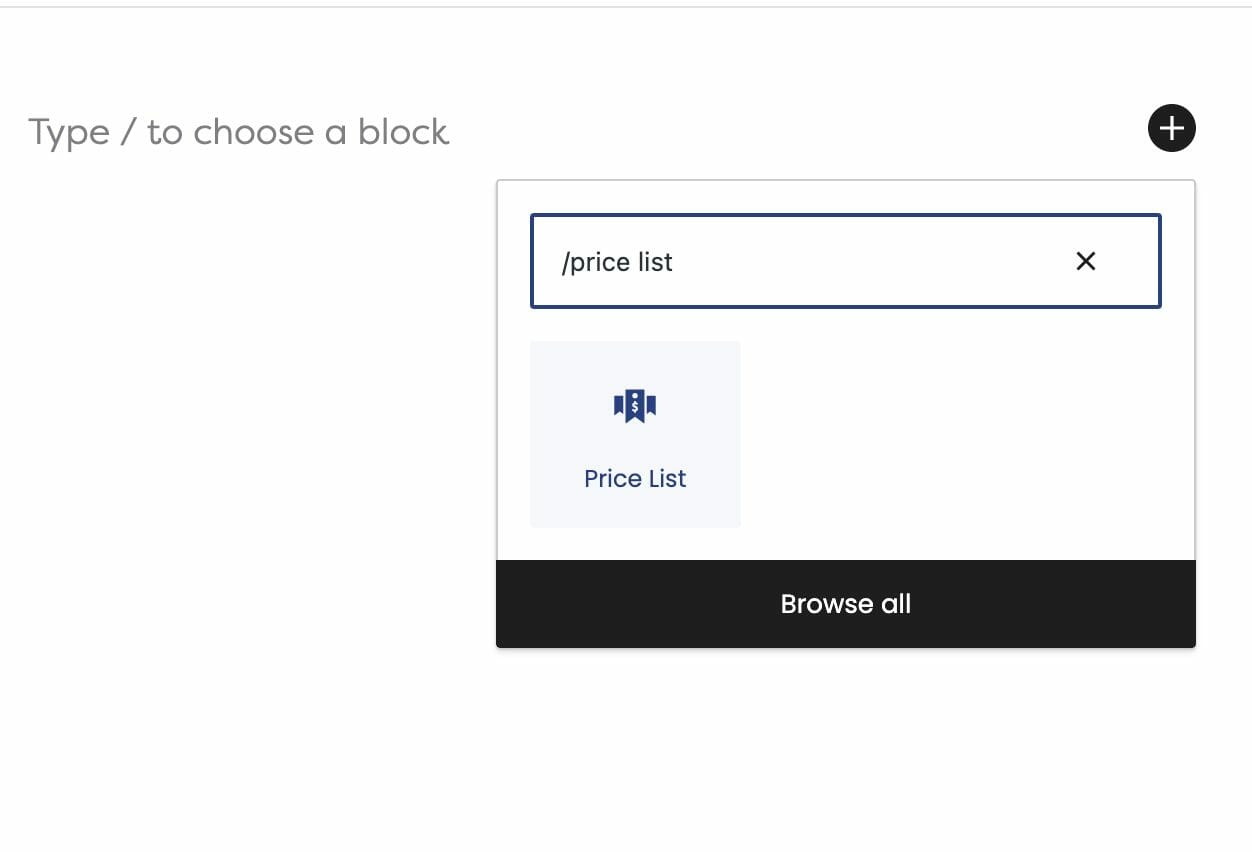
- Click on the + icon to add a new block to your page
- Type in “Price List” to find the Price List Block
- Select Price List
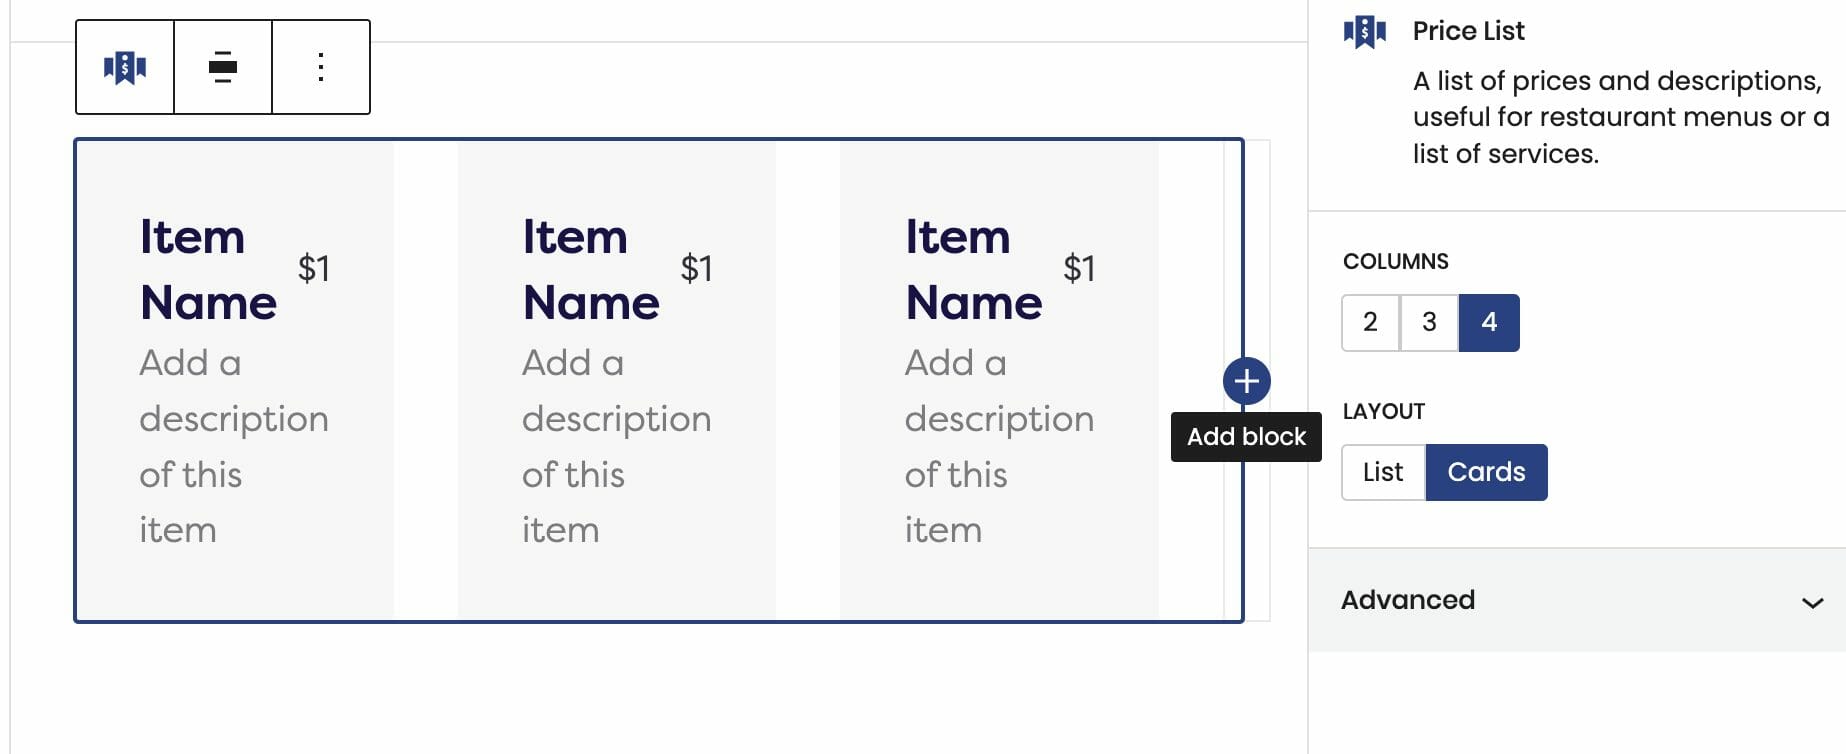
Need to add more services to your list? Just click on the + icon for more!
You’re in Control
Use the block editor on the right side to customize your list of offerings – you can format your services with a Card format or keep it as a List!
In addition, the price field is completely flexible to your design goals. When adding a new Price List, the cards will showcase prices that have the USD ($) currency symbol. This doesn’t have to stay there. Feel free to format your prices however you’d like!
Visit our Support Site to learn more about editing your Price List.
It’s important to be transparent about your business information. Users are more inclined to trust you and continue to engage with your products if your information is well presented and organized. We hope that this tutorial will make a difference in enhancing your website’s accessibility, design, and gain more traffic!
How to Use the Hero Block
introducing your website pages just got easier! The Hero is the first element that users set their eyes on once they land on your page. Think of this special block as the “first impression” section of your website!
Dirigible’s Hero Block is a versatile and seamless addition to your website building goals. It allows you to display eye-catching imagery with text. There’s also plenty of options to display the Hero Block vertically and horizontally – you can edit these features any way you want!
Learn how to build a captivating website using our Hero Block.
Steps to Adding a Hero Block:
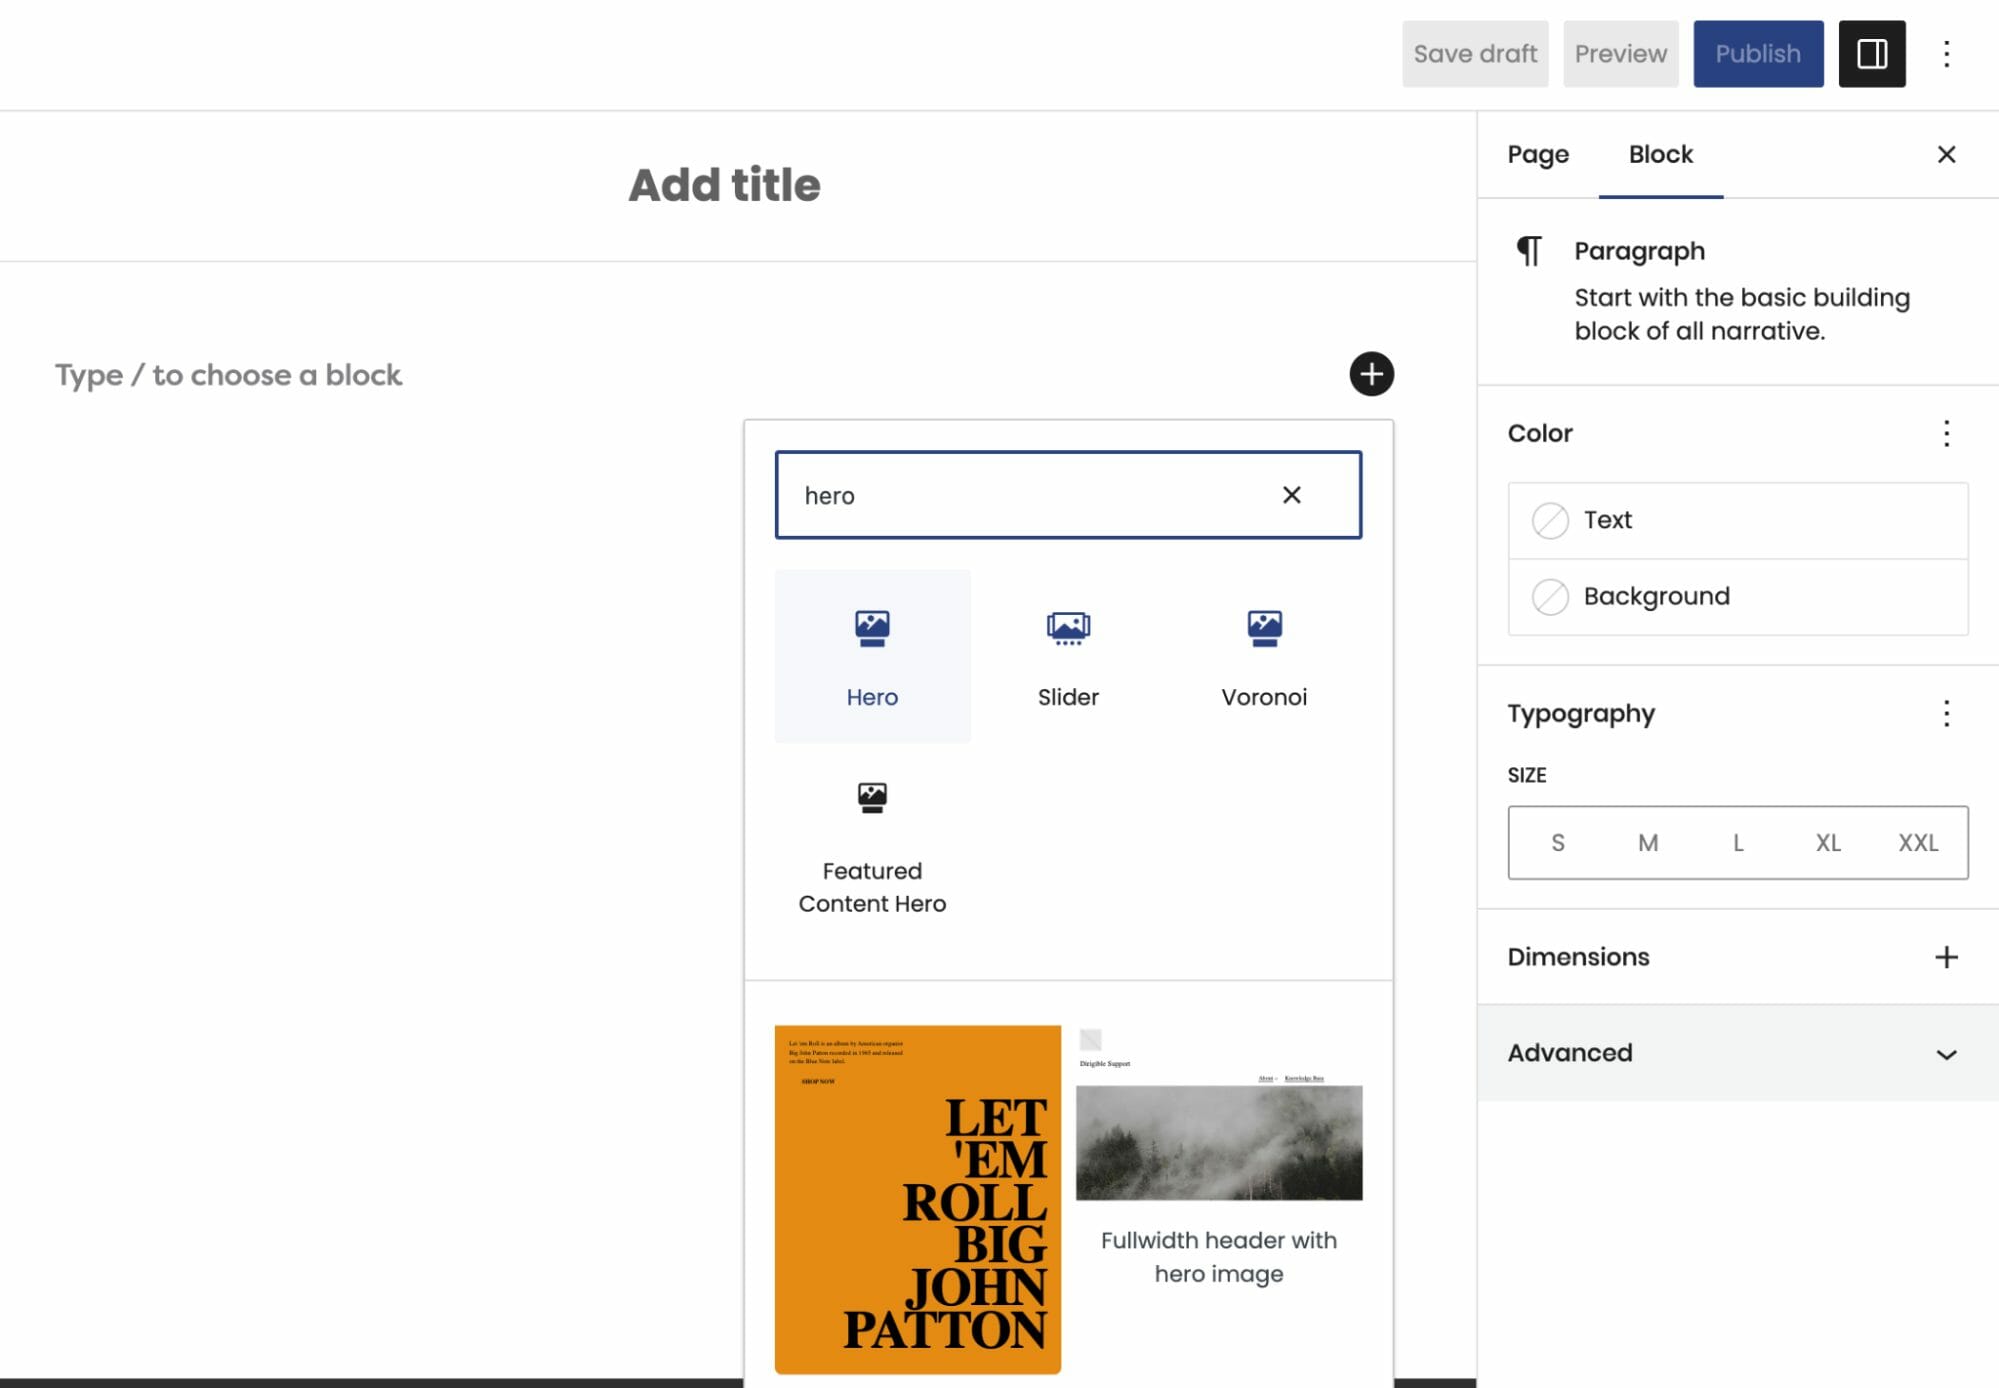
- Click on the + icon to add a new block to your page
- Type in “Hero” to find the Hero
- Select Hero
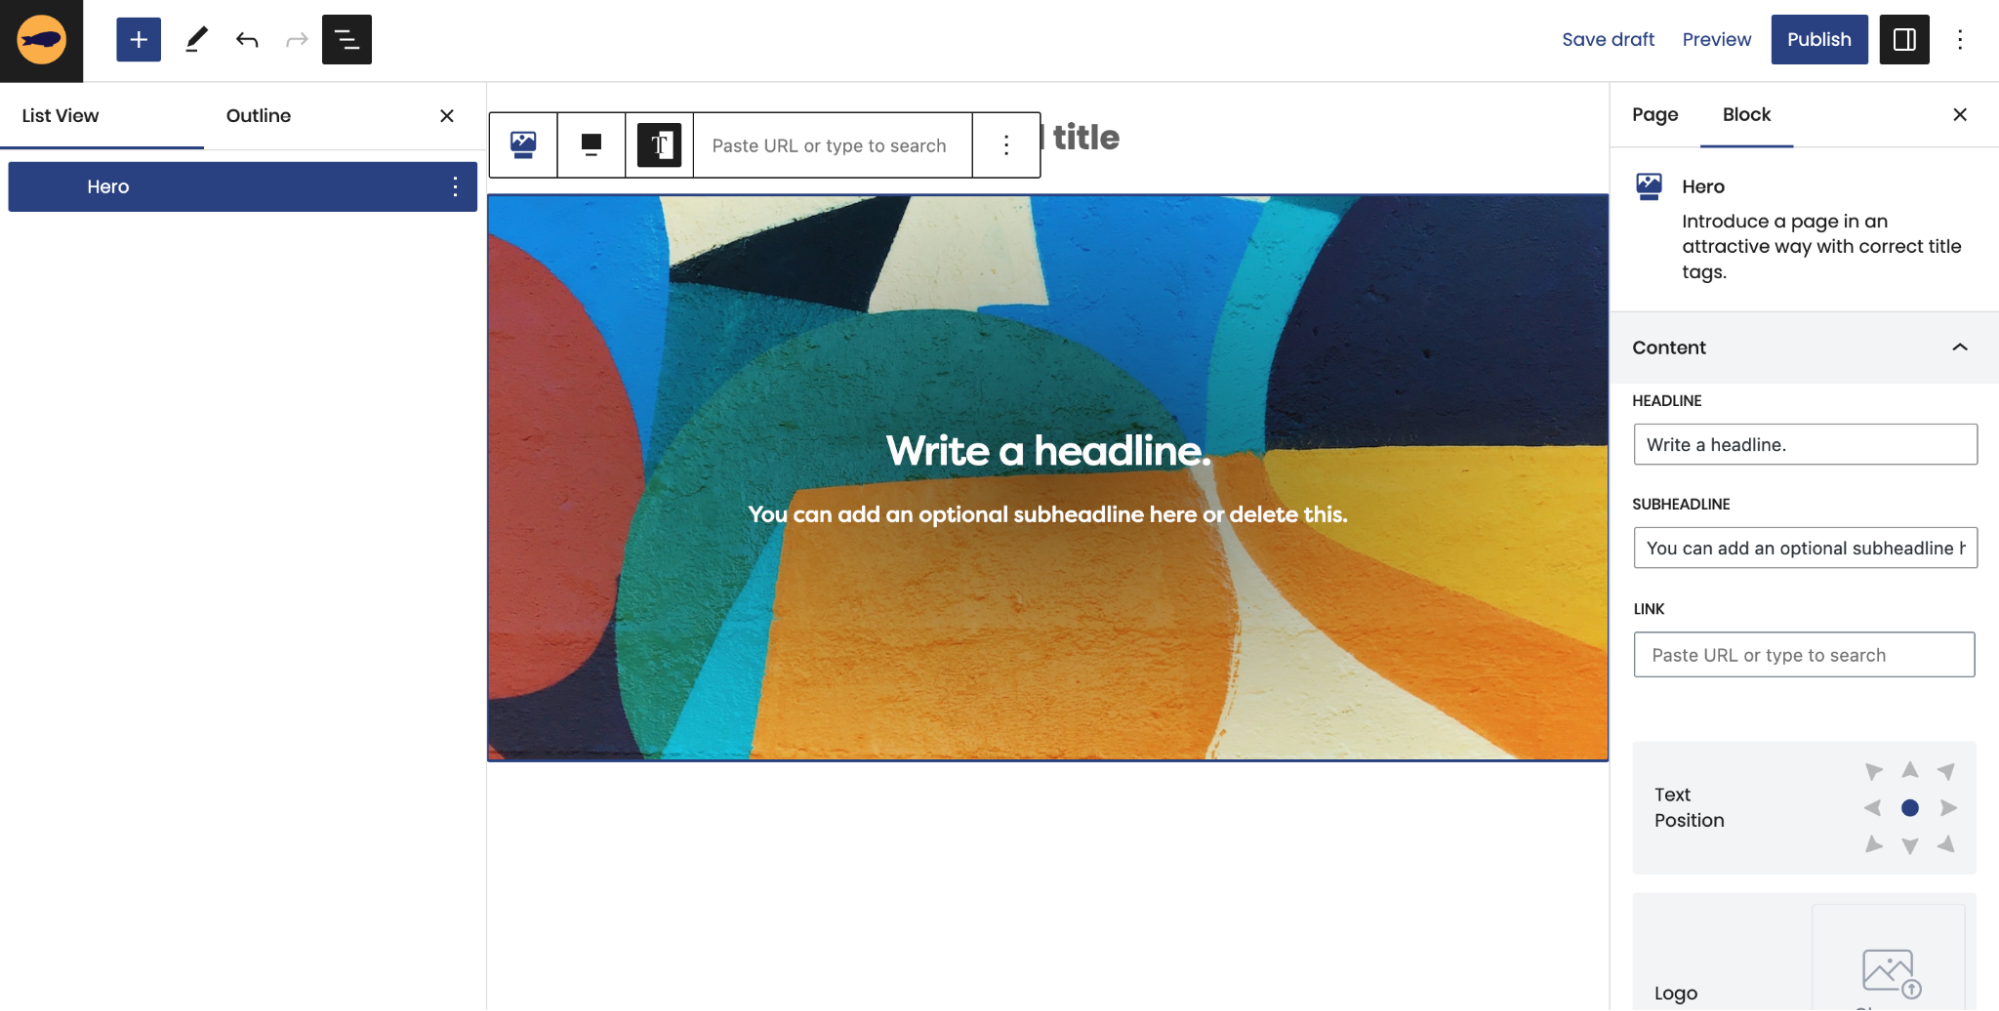
Now that you have opened up a Hero Block, you can edit its four different content fields: Headline, Subheadline, Button, and Logo. You can edit these inline or in the block editor on the right.
Click on our knowledge base post to learn more about how to maximize your Hero’s features!
We hope that this tutorial will help you leave a lasting impression on your users when they visit your website!
Learn How to Use a Vignette on Your Website
The Vignette Block is an innovative design element that brings your website to life. It consists of the classic Media and Text UX format, but can be customized in unique ways!
Discover new ways to make your content stand out from the rest using our Vignette Block!
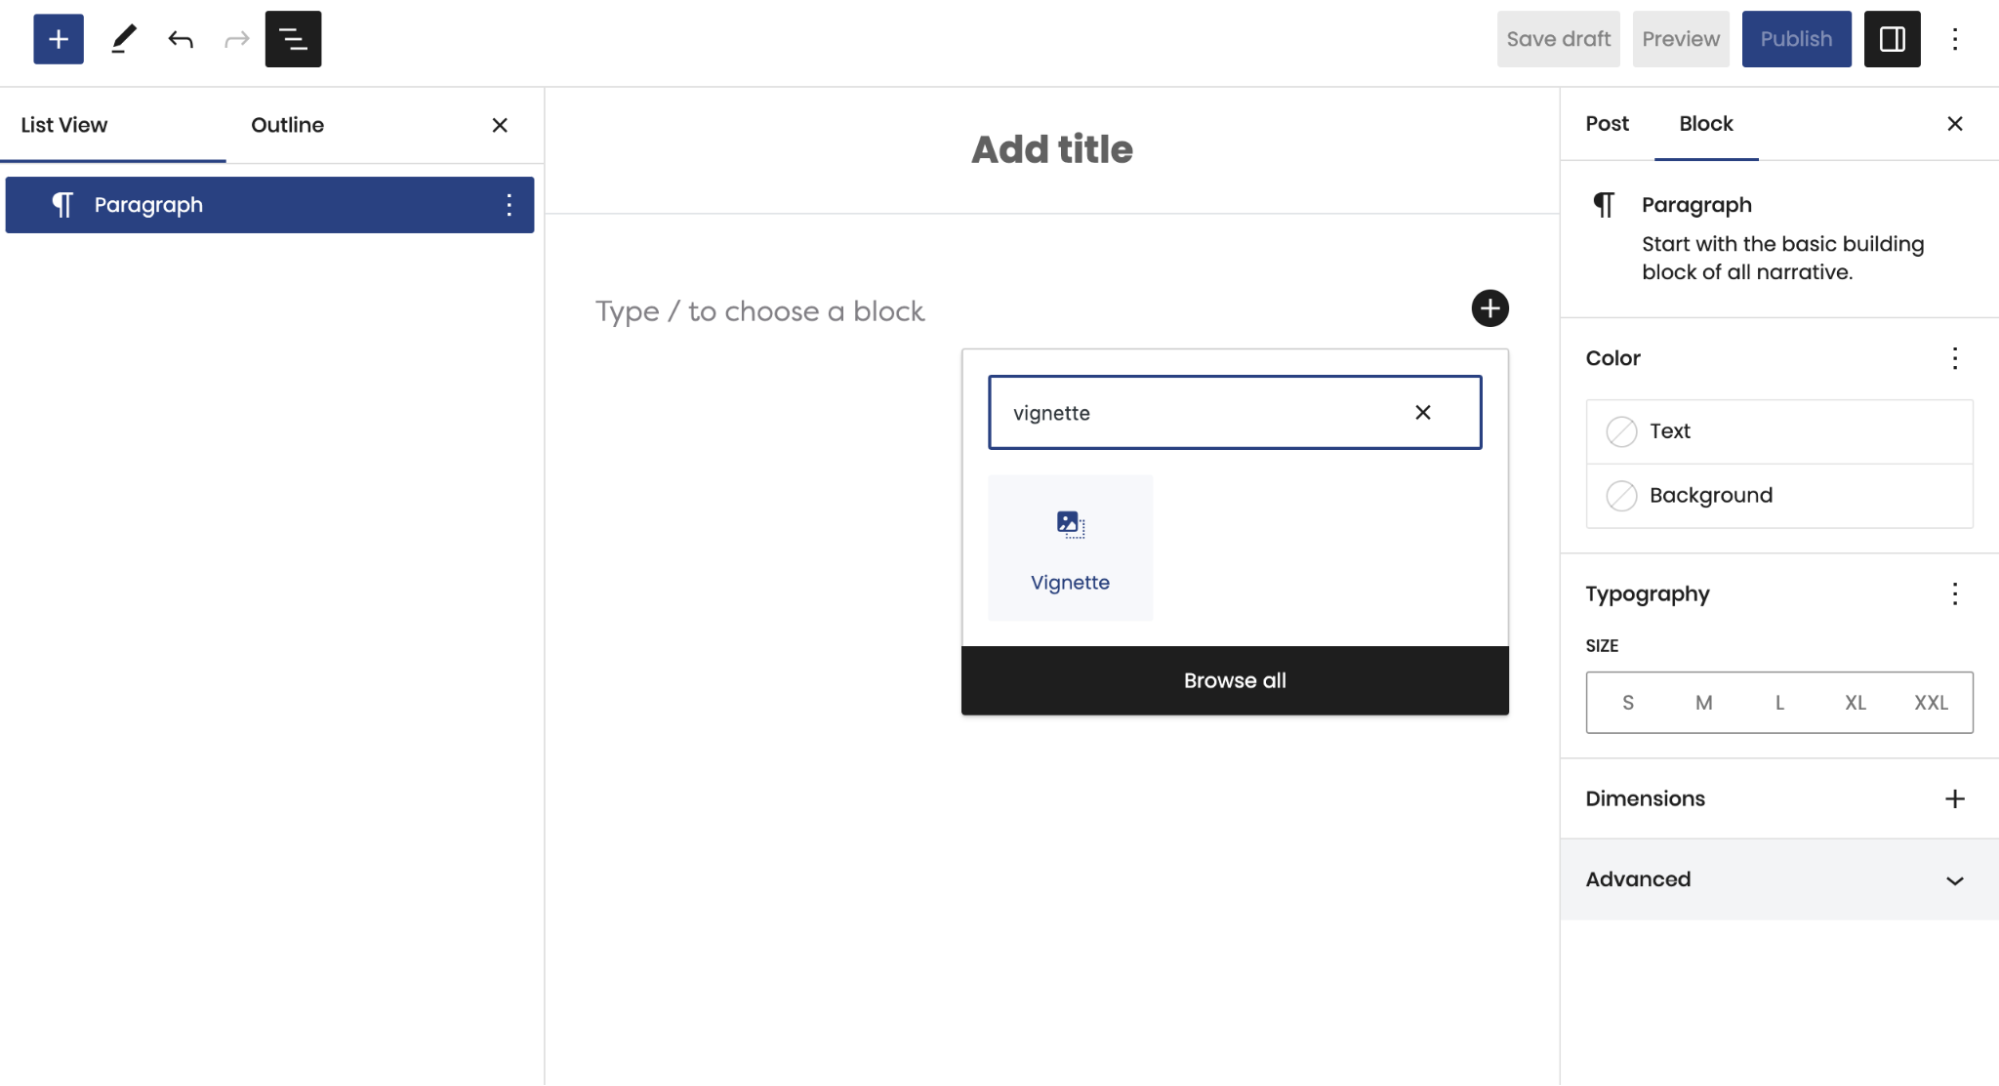
Steps to adding a Vignette Block:
- Click on the + icon to add a new block to your page
- Type in “Vignette” to find the Vignette Block
- Select Vignette
What’s Next?
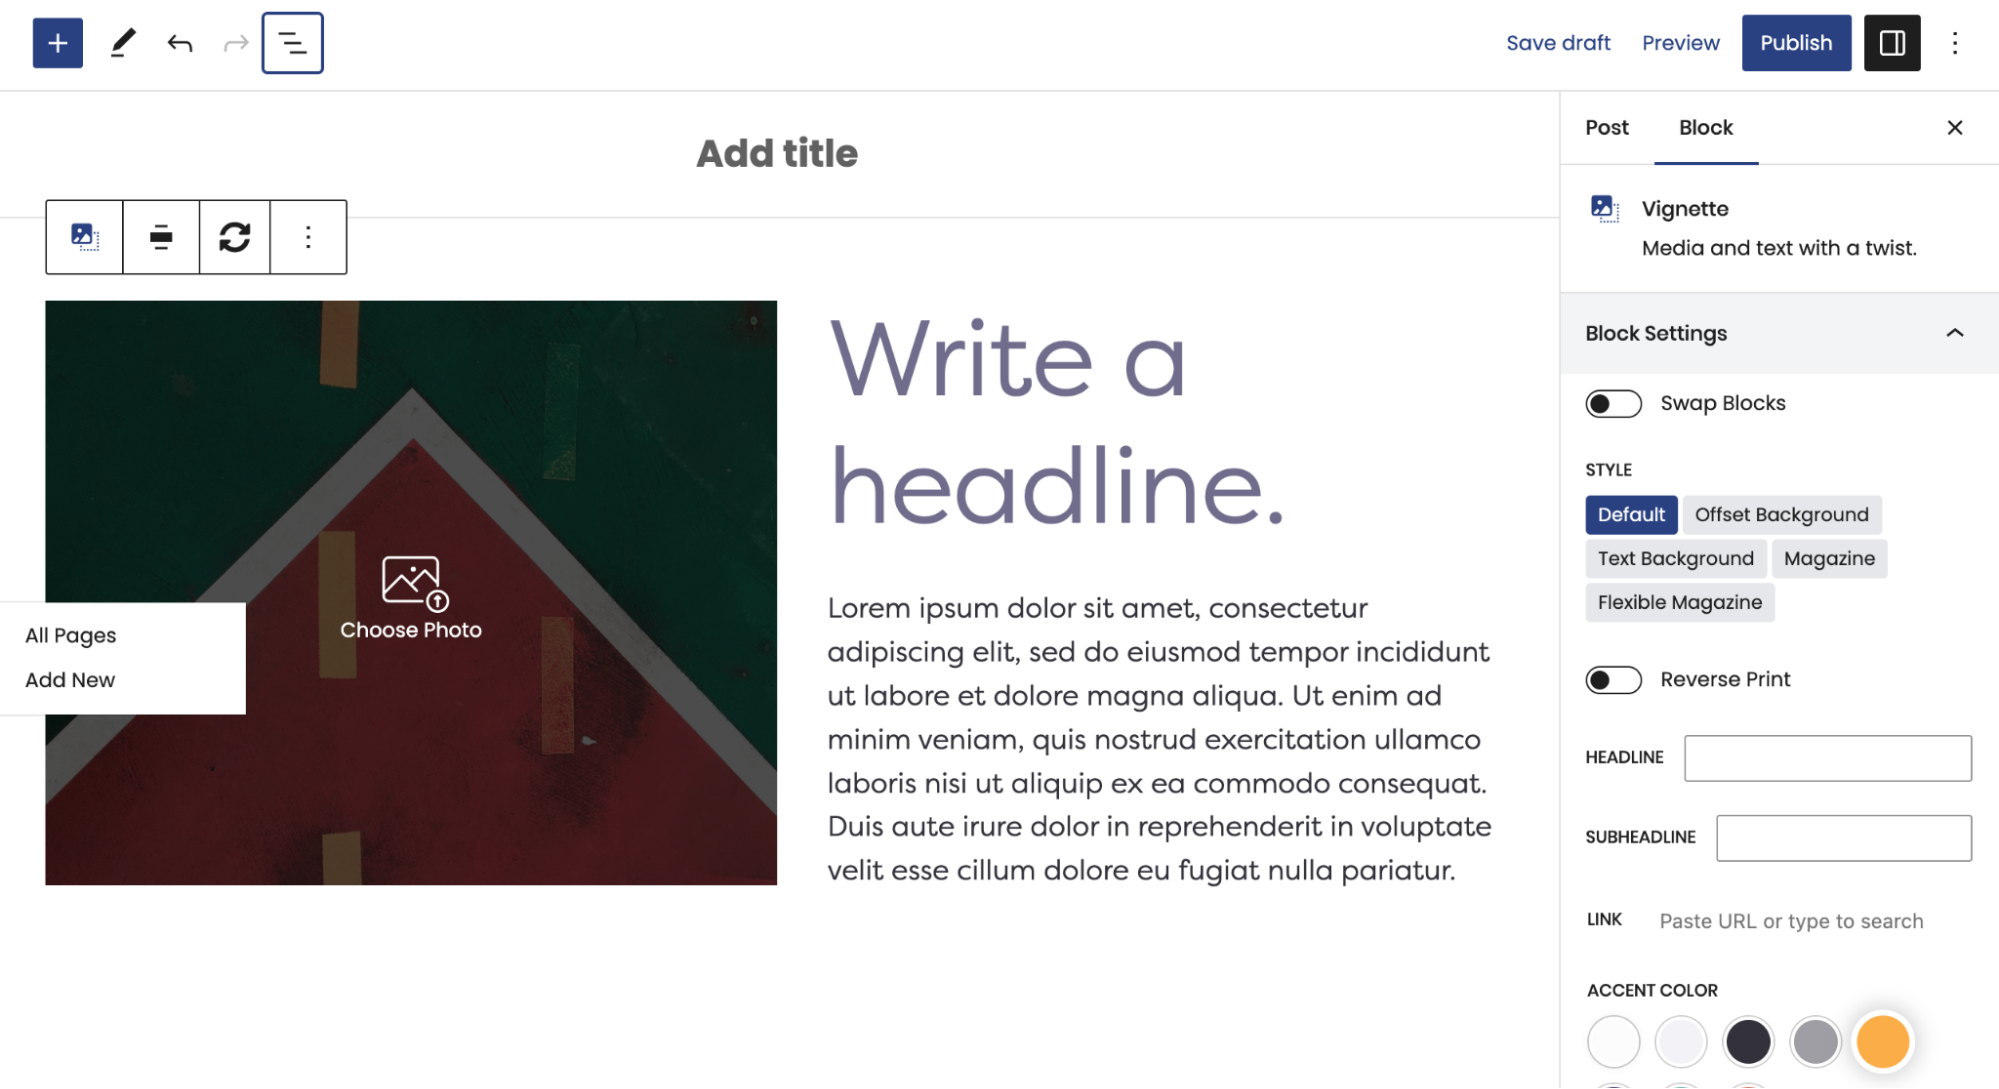
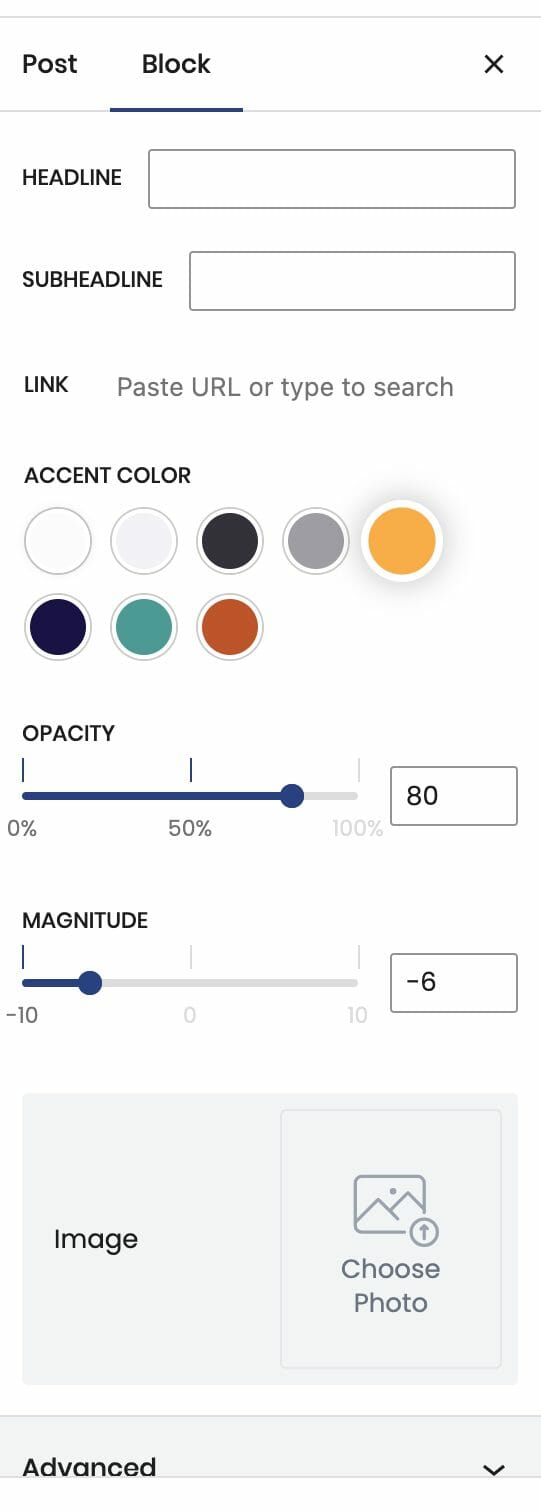
After adding your Vignette to your page, the block editor will appear on the right side of your screen. Now, you can play around with the different block settings to customize your Vignette!
Visit our Knowledge Base post on Vignette to learn more about the different styles and how they work.
Our versatile Vignette Block is designed to captivate your users and highlight content that won’t be overlooked. We hope that this tutorial helps you get started on designing a beautiful, unique website that will stand apart from the rest!
What is a Quote Block?
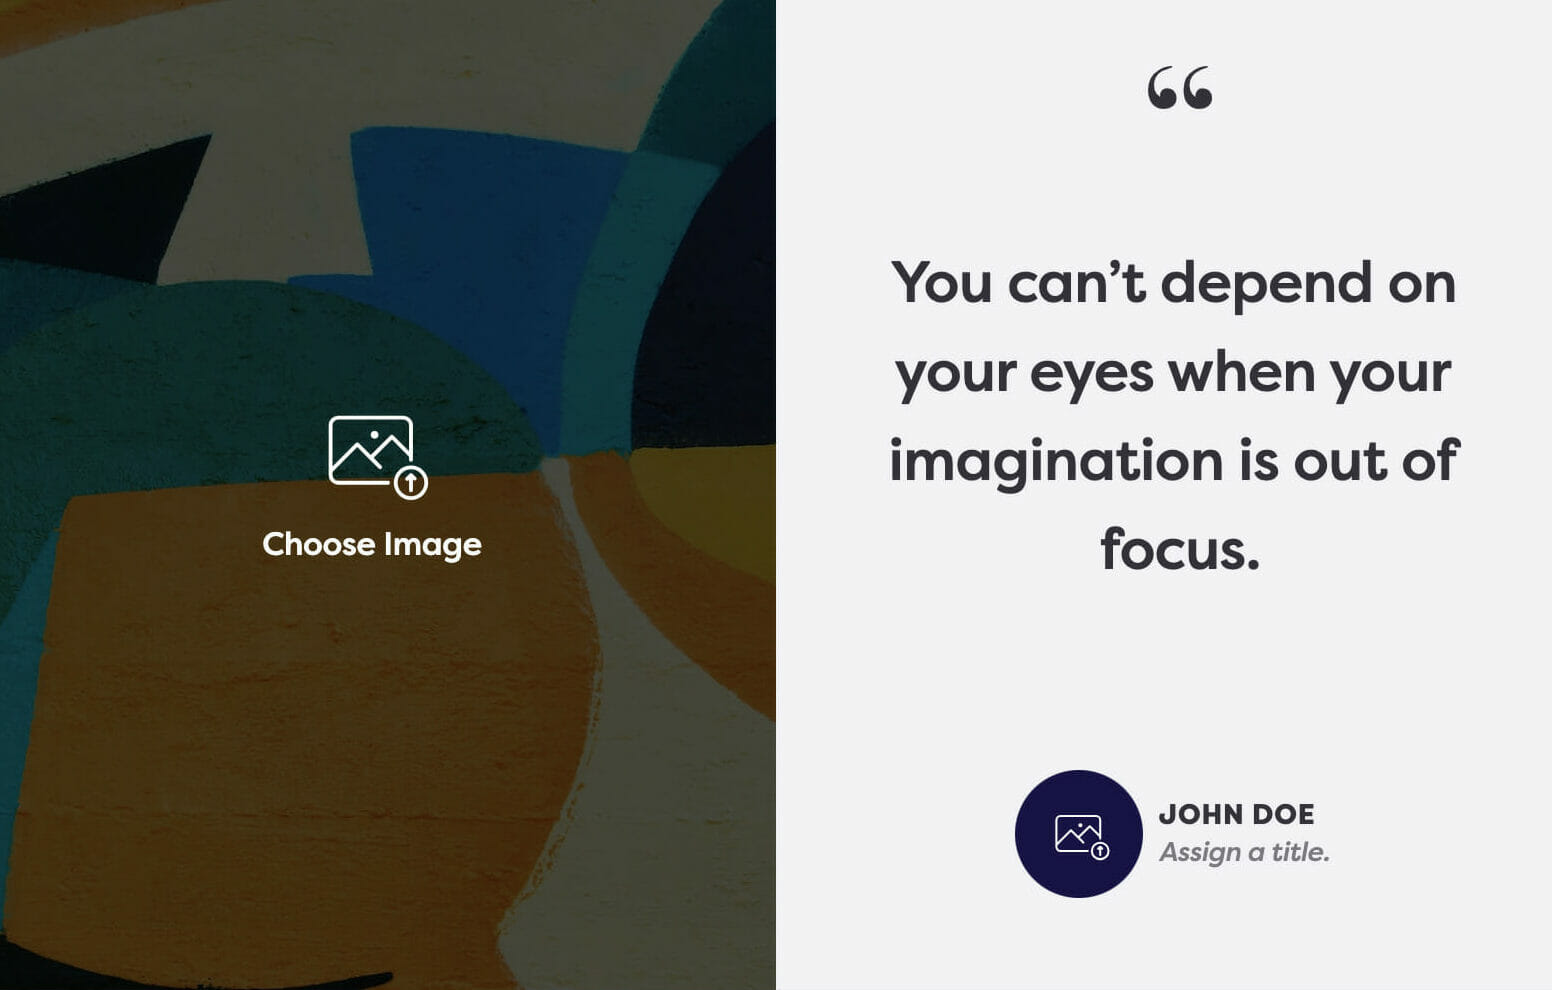
A Quote Block is like our other Blocks, but it comes with a special addition – an image field. Displaying a quote next to an image provides users with a holistic view of your website with a captivating visual design.
Our latest adjustment to the styling makes our Quote Blocks more prominent on the page, featuring a simple and elegant quotation mark on top!
Simple Quote Settings:
The quote itself has all the same fields as the Small Quote and Large Quote Blocks—you can adjust the Text Size, Background Color, and Headshot in the Block Editor on the right-hand side.
How to add a Quote Block:
- Click on the + icon to add a new block to your page
- Type in “/Quote Blocks” to find the Quote Blocks
- Select Quote Blocks


How to add or change the Featured Image?
To set the Featured Image, you can click directly on the image to open up your Media Library and make your selection.
If you want to change the Featured Image you will follow all those same steps, but first have to hit Remove BG Image in the Block Editor when the child block is selected..
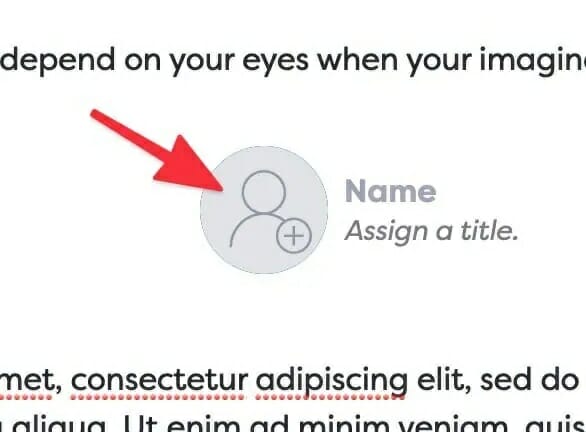
Adding a Headshot:
To add a Headshot, you can click directly on the headshot icon to open your Media Library and make your selection.
If you want to change the Headshot you will follow all those same steps, but first have to hit Remove Headshot in the Block Editor when the child block is selected..
NOTE: If you don’t add a headshot, the Name and Title will appear centered underneath the quote on the frontend. So you don’t have to worry about a blank space showing up in your Quote Block. The headshot field is only there if you want to use it, it is not a requirement.
We hope this tutorial helped you understand how our seamlessly awesome Quote Blocks work! Try it out and discover how the perfect blend of an image and a quote can elevate the design and functionality of your website!