

Wordpress
- Best Practices for Website Headlines
- Block Editor Has Disappeared
- Creating a Mobile Menu
- How to add a clickable telephone number to your website
- How To Add/Update a Button on Your Site’s Main Menu
- How to Use the WordPress Plugin, Redirection
- I Can’t Delete Buttons
- My buttons aren’t centered even when set to be center aligned.
- My Sidebar Is Missing in the Editor
- Set Your Homepage in WordPress
- User Management in WordPress
- Using Sections and Backgrounds
- What is a Site Title in WordPress?
- Which Plugins Are Installed?
- Why “Last Updated” Dates Matter for SEO
- WordPress’s Media Library 101
WordPress’s Media Library 101
Managing your site’s media
The Media Library is your best friend when it comes to storing and saving the files you put on your website. This is where you can find all of your uploaded photos, videos, documents, etc. that you have placed on your site. In the Media Library you can view, search, and make changes to your uploaded files. We want to help you get familiar with the Media Library and overall help with the look of your site when it comes to uploading media.
In this post we will cover:
- How to get to your Media Library
- How to upload new media to your library
- How to edit the metadata of your files
- Examples of blocks with media that you can utilize on your own site!
How to get to your Media Library:
- In your Dashboard, scroll down and click on Media > Library.


- When in your Media Library, there is a bar at the top to organize or filter your media.
- Your library items can be displayed in List Mode or in Grid Mode (the screenshot above is in Grid Mode).
- This next drop down menu allows you to filter for a specific type of media: All media items, Images, Audio, Video, Documents, Spreadsheets, Archives, Unattached, and Mine. This is helpful if you are looking for a specific format of media.
- The dates drop down menu helps you filter your library by timeframe. You might use this one if you are looking for a specific series of photos that you remember uploading this time last year.
- If you are looking to filter based on location of files, use this drop down menu.
- The last drop down menu lets you select between public versus private files.
- Clicking on Bulk select allows you to select multiple files in your Media Library. Very useful if you are needing to delete a lot of your media at once.
- Note: if you are in List Mode the Bulk select button instead says Filter, which you would click after making your drop down menu selections to search.
- Lastly, use the search bar if you remember the name of the file you are looking for.
How to upload new media to the library:
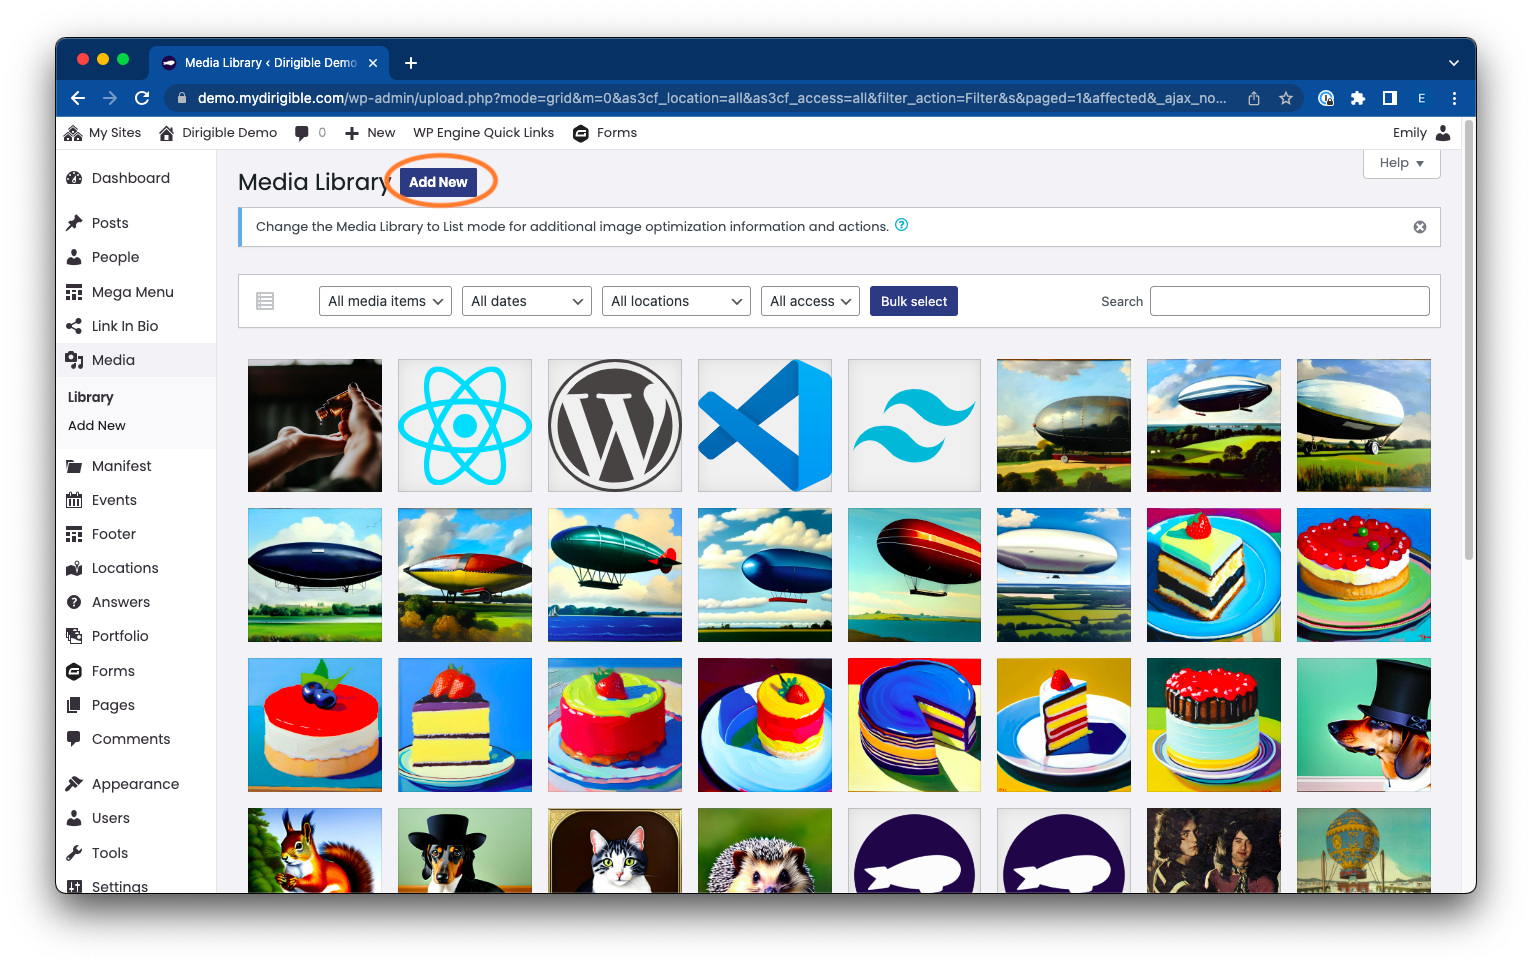
- Any piece of media or file that you upload onto a page or post on your WordPress site will automatically be saved and stored in the Media Library. You can keep uploading your files that way, but you can also upload directly into the Media Library if you click the Add New button at the top of the page.
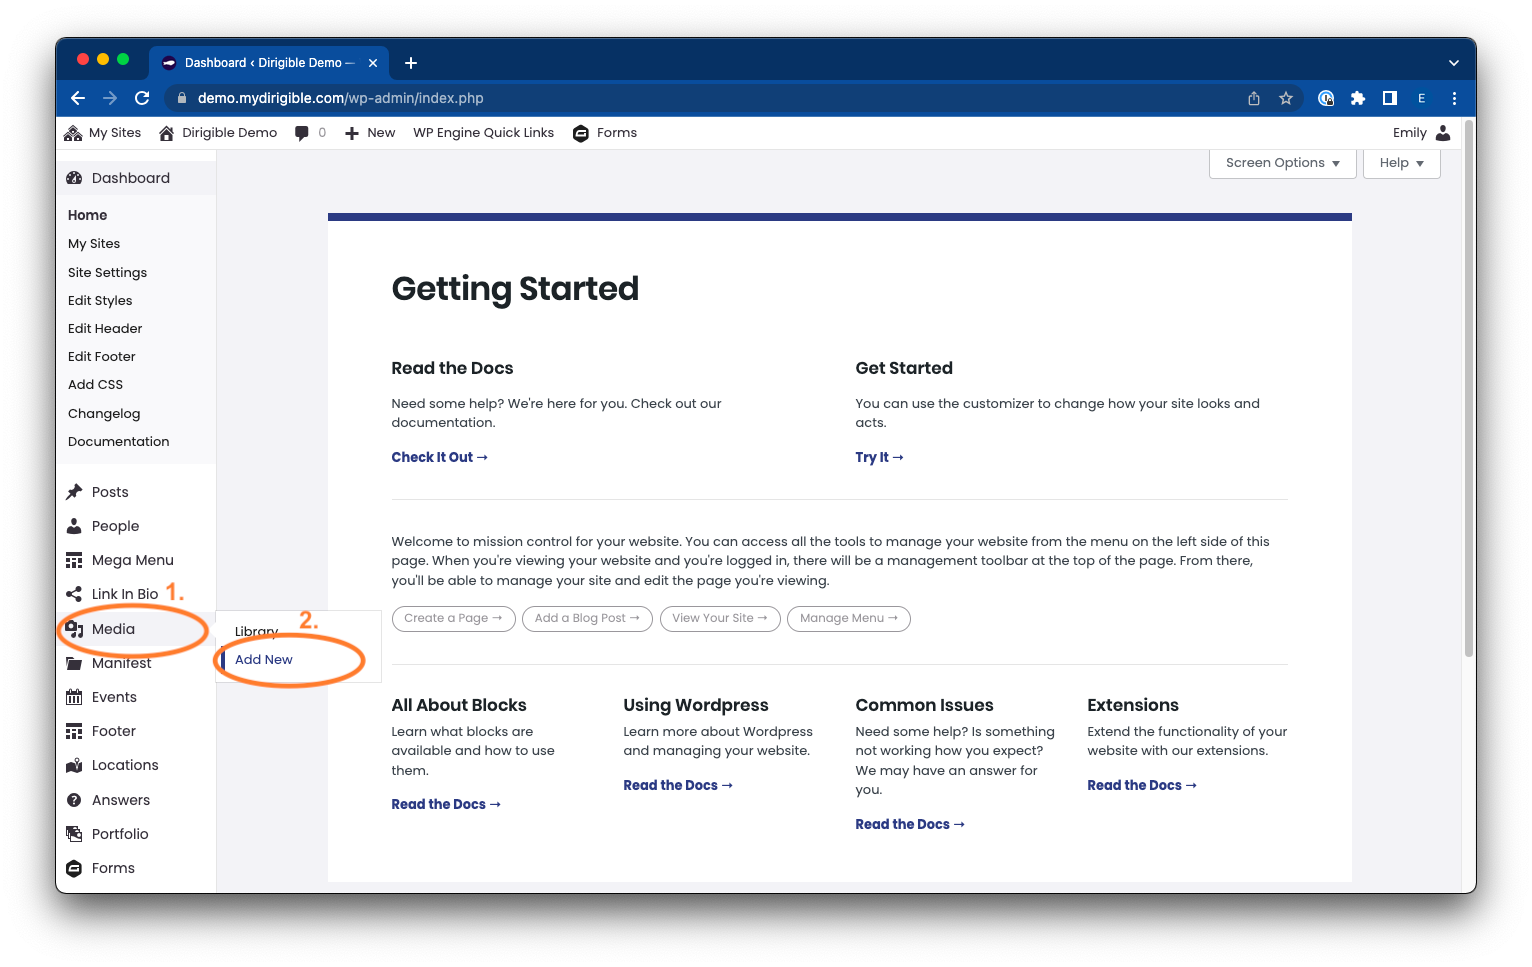
- You can additionally upload media directly from the dashboard by clicking Media > Add New
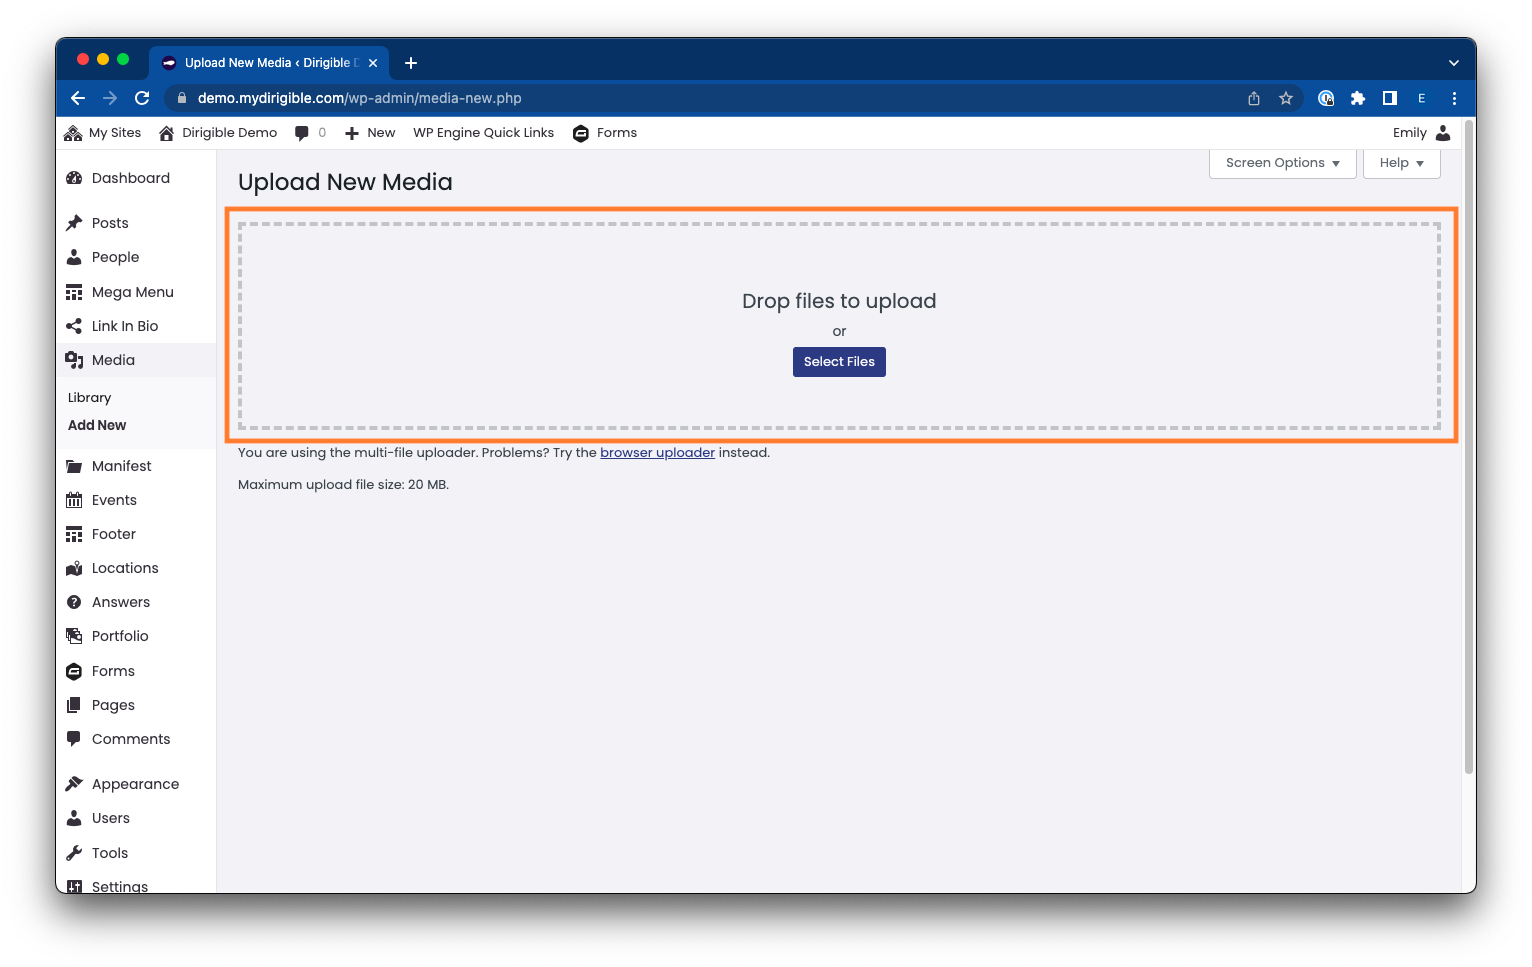
- Now you can drag and drop your files into the dashed box that pops up. You also have the option to browse your computer to upload a document if you click the Select Files button.
How to edit the metadata of your files:
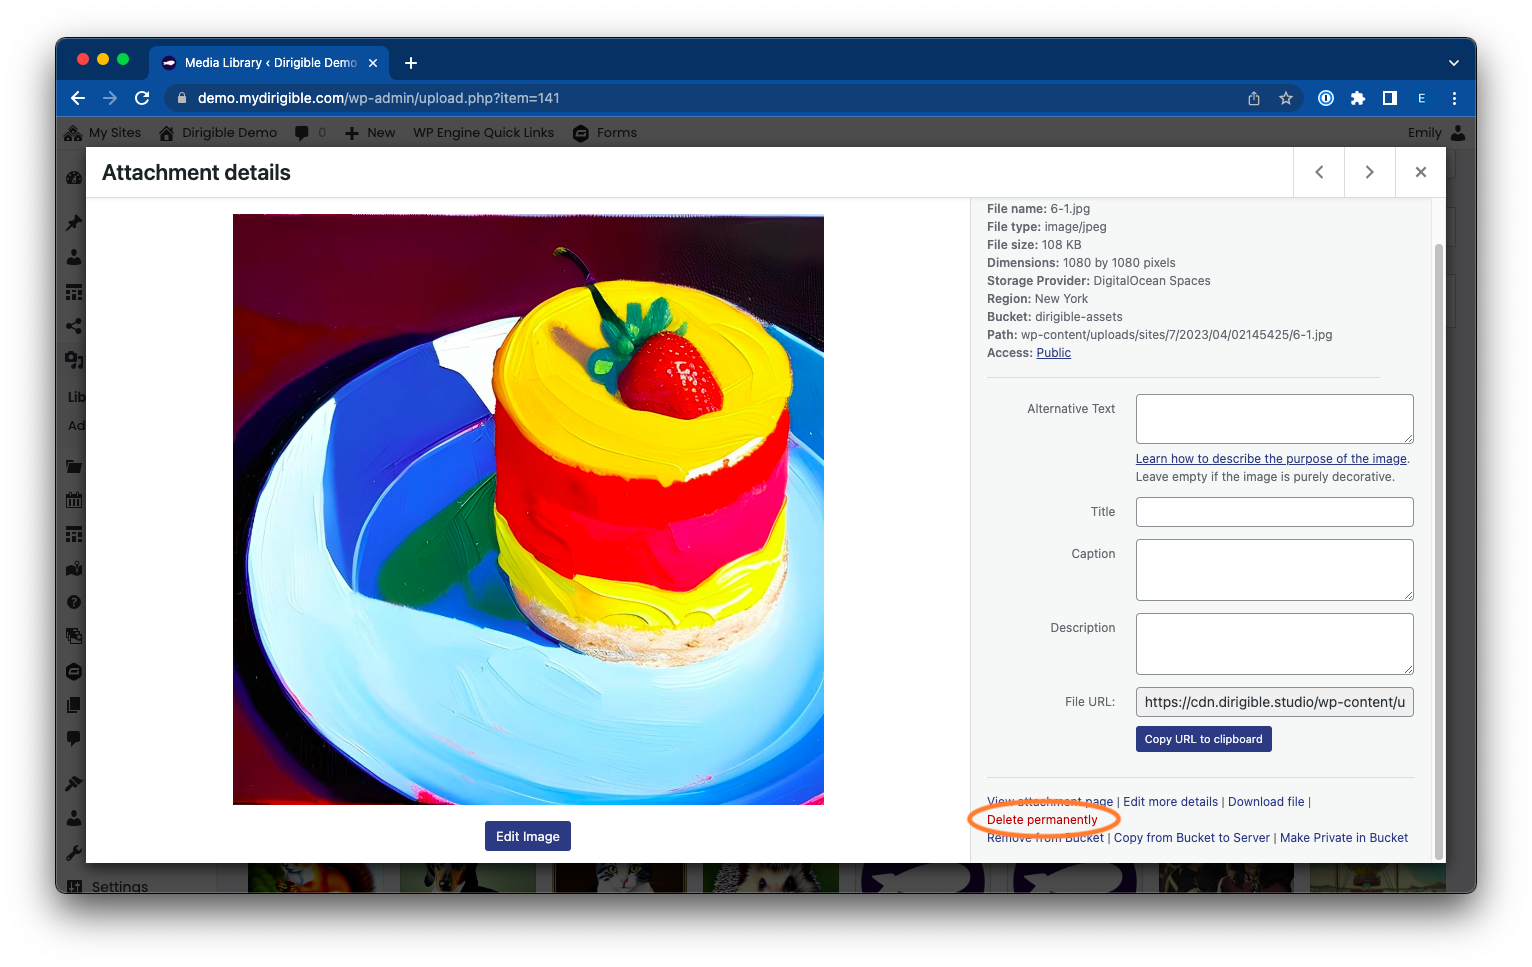
- In your Media Library, images, videos, documents, and audio files have textbox fields where you can add or edit the information when you click to open up the media: Title, Caption, Alt Text (only for images), and Description.
- After selecting your file and clicking to open it you can add or edit to any of these text boxes to add more information to your file.
- Note: You can also view a file’s URL here just under the Description textbox.
- Note: You are also able to delete files here if you scroll to the bottom of the media window and click Delete permanently. This is better than the bulk selection method if you are just looking to delete one file.
Examples of blocks with media:
Hero Block

Yearbook Block

Video Gallery Block

Vignette Block

Gallery Block
To see more examples or to get a more in-depth usage of blocks, visit our Blocks page here.