

Gating
Overview
Gating is the lead form in front of public downloads. It does not apply to docs set to Selected users.
Where to find these settings
- In the WordPress admin, go to Appearance → Customize
- Open Dirigible Documentation
- Select Gating
Settings
- Enable Gating — turn the lead form on (default off)
- Gravity Form ID — the form to show. Set this before you turn on Enable Gating; with 0, public docs stay locked with no form
- Headline — heading on the overlay
- Subeadline — line under the headline (this is the Customizer label)
- Body (HTML Allowed) — optional extra copy
- Enable Gate Bypass — let visitors dismiss the form without submitting (default off)
- Bypass Text — dismiss button label (default No thanks). Only used when bypass is on
Tips
- Create the Gravity Form first, then paste its ID.
- If the form changes, reset everyone from Dirigible → Tools → Reset Documentation Gating.
Settings
Gating
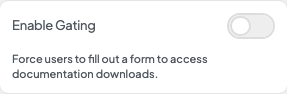
Enable Gating
Puts a Gravity Form in front of public documentation downloads. Selected-user docs skip this gate.
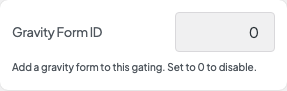
Gravity Form ID
ID of the Gravity Form shown on the overlay. If this is 0 while Enable Gating is on, public downloads stay locked with no form.
Headline
Heading at the top of the gate overlay.
Subeadline
Line under the headline. The Customizer label is Subeadline.
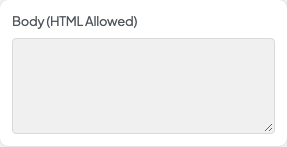
Body (HTML Allowed)
Optional extra copy under the headlines. HTML is allowed.
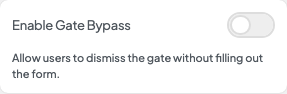
Enable Gate Bypass
Adds a dismiss control so visitors can hide the gate without submitting the form. Off by default.
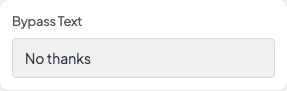
Bypass Text
Label on the dismiss button (default No thanks). The button only appears when Enable Gate Bypass is on.