

Getting started
Create the taxonomies
- In the WordPress admin, go to Documentation → Doc Types and add the kinds of files you publish (manual, CAD, spec sheet)
- Add Doc Products for the products those files belong to
- Add Doc Brands if more than one brand shares the library
You can add terms later. Filters on the hub stay empty until docs have terms assigned.
Add a doc
- Go to Documentation → Add Doc
- Set the title
- Upload a File (PDF, CAD, and similar document types)
- Optionally paste a YouTube Video URL and write an Excerpt and Body. For a PDF, AI: Fill from File can draft those fields.
- Assign Doc Types, Doc Products, and Doc Brands
- Leave Access as Public unless this file is for selected users
- Publish
Docs use the classic editor, not the block editor. The WordPress content box is hidden; write longer copy in Body.
Set the hub page
- Create or edit a page that will be the library (for example Documentation)
- Insert a Section, then insert Documentation Explorer inside it
- Publish the page
- Go to Appearance → Customize → Dirigible Documentation → Documentation
- Set Documentation Base Page to that page
- Publish the Customizer
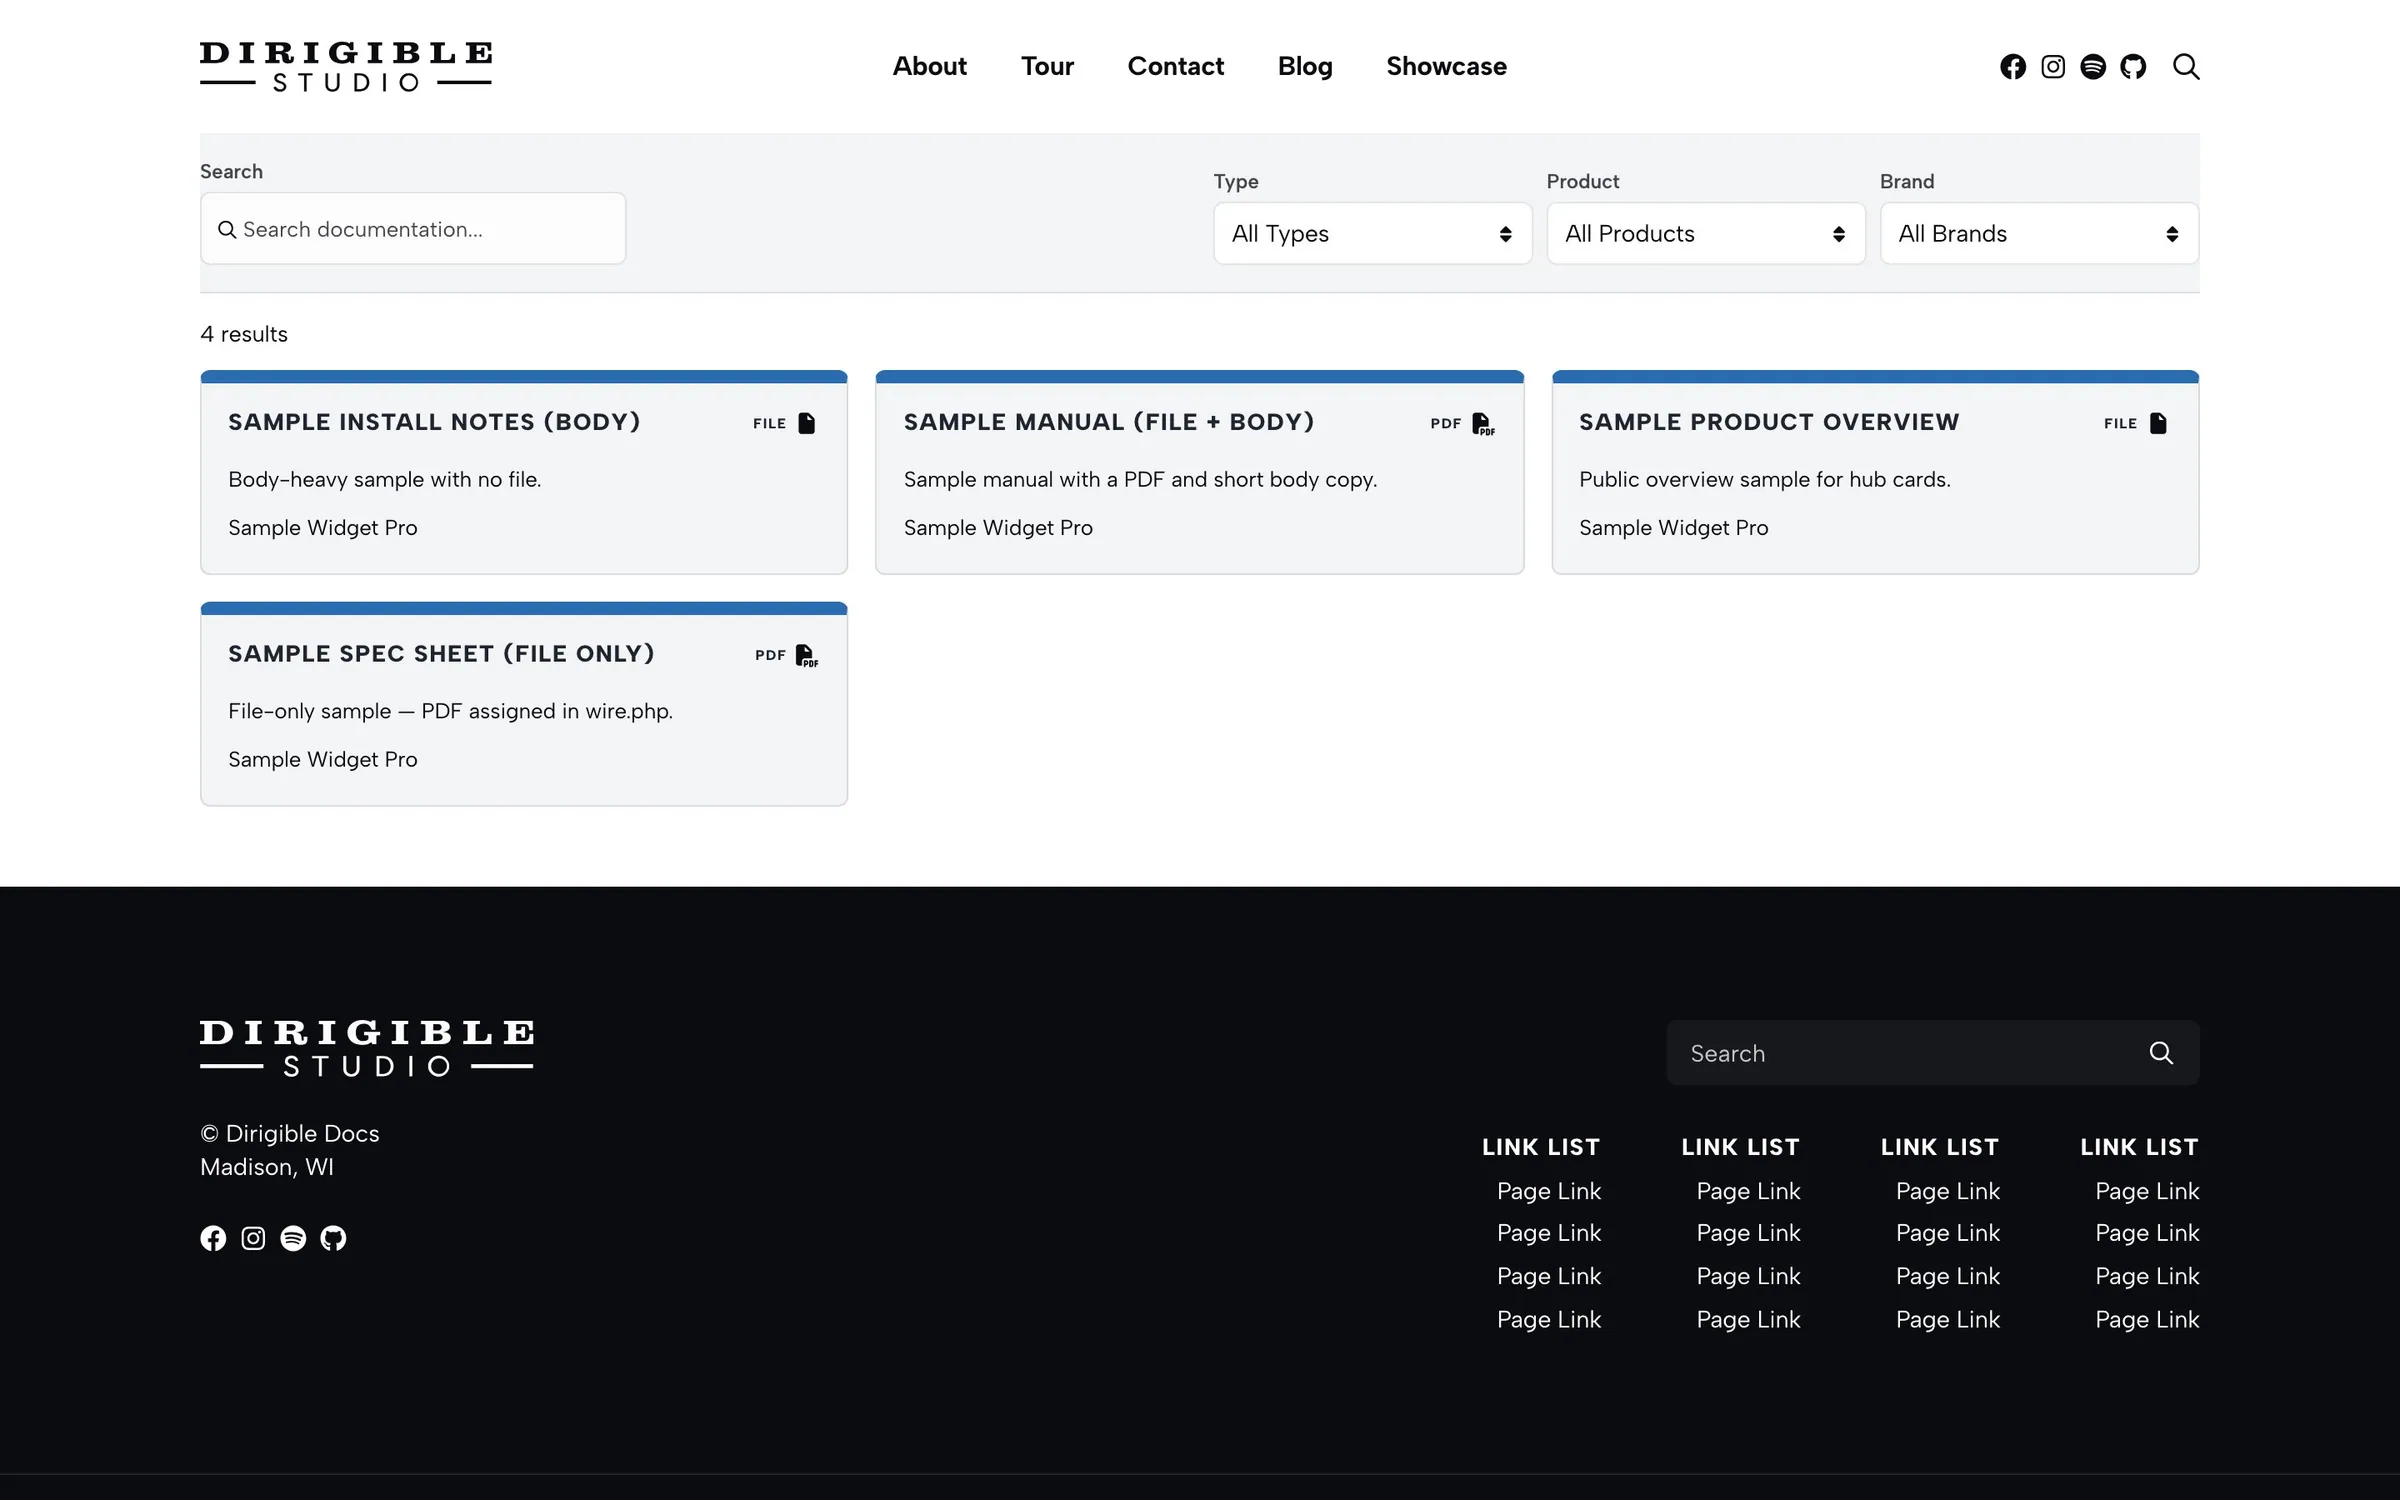
Explorer shows the listing. Setting the base page turns on filter URLs for the hub. See Documentation hub for filters, search, and Cards vs Tiers.
Tips
- The All Docs list has a File URL column so you can open the assigned file without editing the doc.
- Lead forms and member-only docs are separate systems. See Lead gating and Member access.
- If the Explorer inserter does not offer the block at the root of the page, add a Section first.