

Before and After
Let visitors drag a divider to compare two photos.
Usage
Before and After is an image comparison slider. Choose a Before and an After photo, and visitors drag a divider across the image to reveal one over the other. Clicking or tapping anywhere on the image moves the divider there.
Keyboard and screen reader visitors can use it too: Tab to the slider, then use the arrow keys to move the divider (Page Up and Page Down move it further, Home and End go to either edge).
Click a slot in the block, or use Before and After in the block toolbar, to choose each image. Swap trades the two. Once both are chosen, the block in the editor is the working slider, so you can try it before you publish.
When to use it
Use it for renovation reveals, product transformations, landscaping results, or any comparison where both photos share the same framing.
Both images should have the same proportions. The slider takes its shape from the Before image. If the After image has different proportions, it's cropped to fit and the two won't line up. Crop or export both images at the same dimensions before uploading.
Nothing shows on the live page until both images are chosen.
Tips
- Shoot both photos from the same spot so the reveal lines up.
- Each image's description for screen readers comes from its Alt Text in the Media Library. Update it there and every page using the image follows.
- Set Starting Position off centre when the interesting change is on one side of the photo.
- For comparing features in rows with icons or text, use Comparison Table instead. For a single photo with copy, use Photo Feature.
Settings
Slider
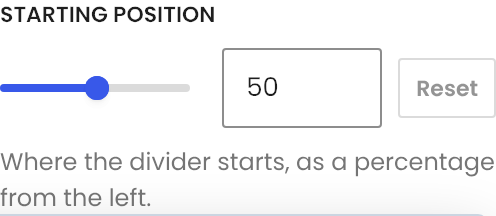
Where the divider sits when the page loads, as a percentage from the left edge. 50 is the middle.
