

Quote Group
Stack several testimonials with matching style on one page.
Usage
Quote Group stacks several testimonials in one block and styles them all at once. Each quote looks like the standalone Quote block (optional quote mark, colored left bar, headshot, name, and job title), but you set the look once on the group instead of on every quote.
Use it for a testimonials page, a list of client reviews, or any section with several quotes that should match.
Parent and child blocks
Quote Group holds one or more Quote blocks and starts with three. Add or remove quotes with the block inserter.
Select Quote Group for styling shared by every quote. Select an individual Quote to edit its text, name, and headshot.
Shared styling (parent)
These settings apply to every quote in the group:
- Style — Border (default) adds a colored bar on the left; None removes it
- Text Align — Left, Center, or Right
- Text Size — Normal, then XS through 4XL. Sizes scale down on smaller screens.
- Space Between — space between quotes (0–8)
- Border Color — color of the left bar when Style is Border
- Name Style — how the names look (default matches your H4 style)
- Headshot Size — size of every headshot (0–10)
- Show Quote Mark — decorative quote icon above each quote
- Icon Size — 1–40
- Quote Style — Rounded, Blocky, Message, or Comment
Individual quotes (child)
Select a Quote to set:
- Quote — paragraphs and lists
- Name — the person being quoted, typed on the block
- Job Title — a smaller line below the name
- Headshot — optional round photo. Click the placeholder on the block or use Choose Headshot in the sidebar, then set Image Focal Point.
Compared to Quote
Use the standalone Quote block for a single testimonial. Use Quote Group when several quotes should share the same text size, alignment, border, and headshot size without opening each one.
Quote Group has no Padding setting like the standalone Quote. Use Space Between to separate quotes instead.
Block width
Quote Group defaults to Wide and also supports Full from the block toolbar.
Tips
- Set Text Size, Style, and Border Color on the group first, then fill in each quote.
- Place Quote Group inside a Section with a background color for a testimonials band.
Screenshots
Front-end
-
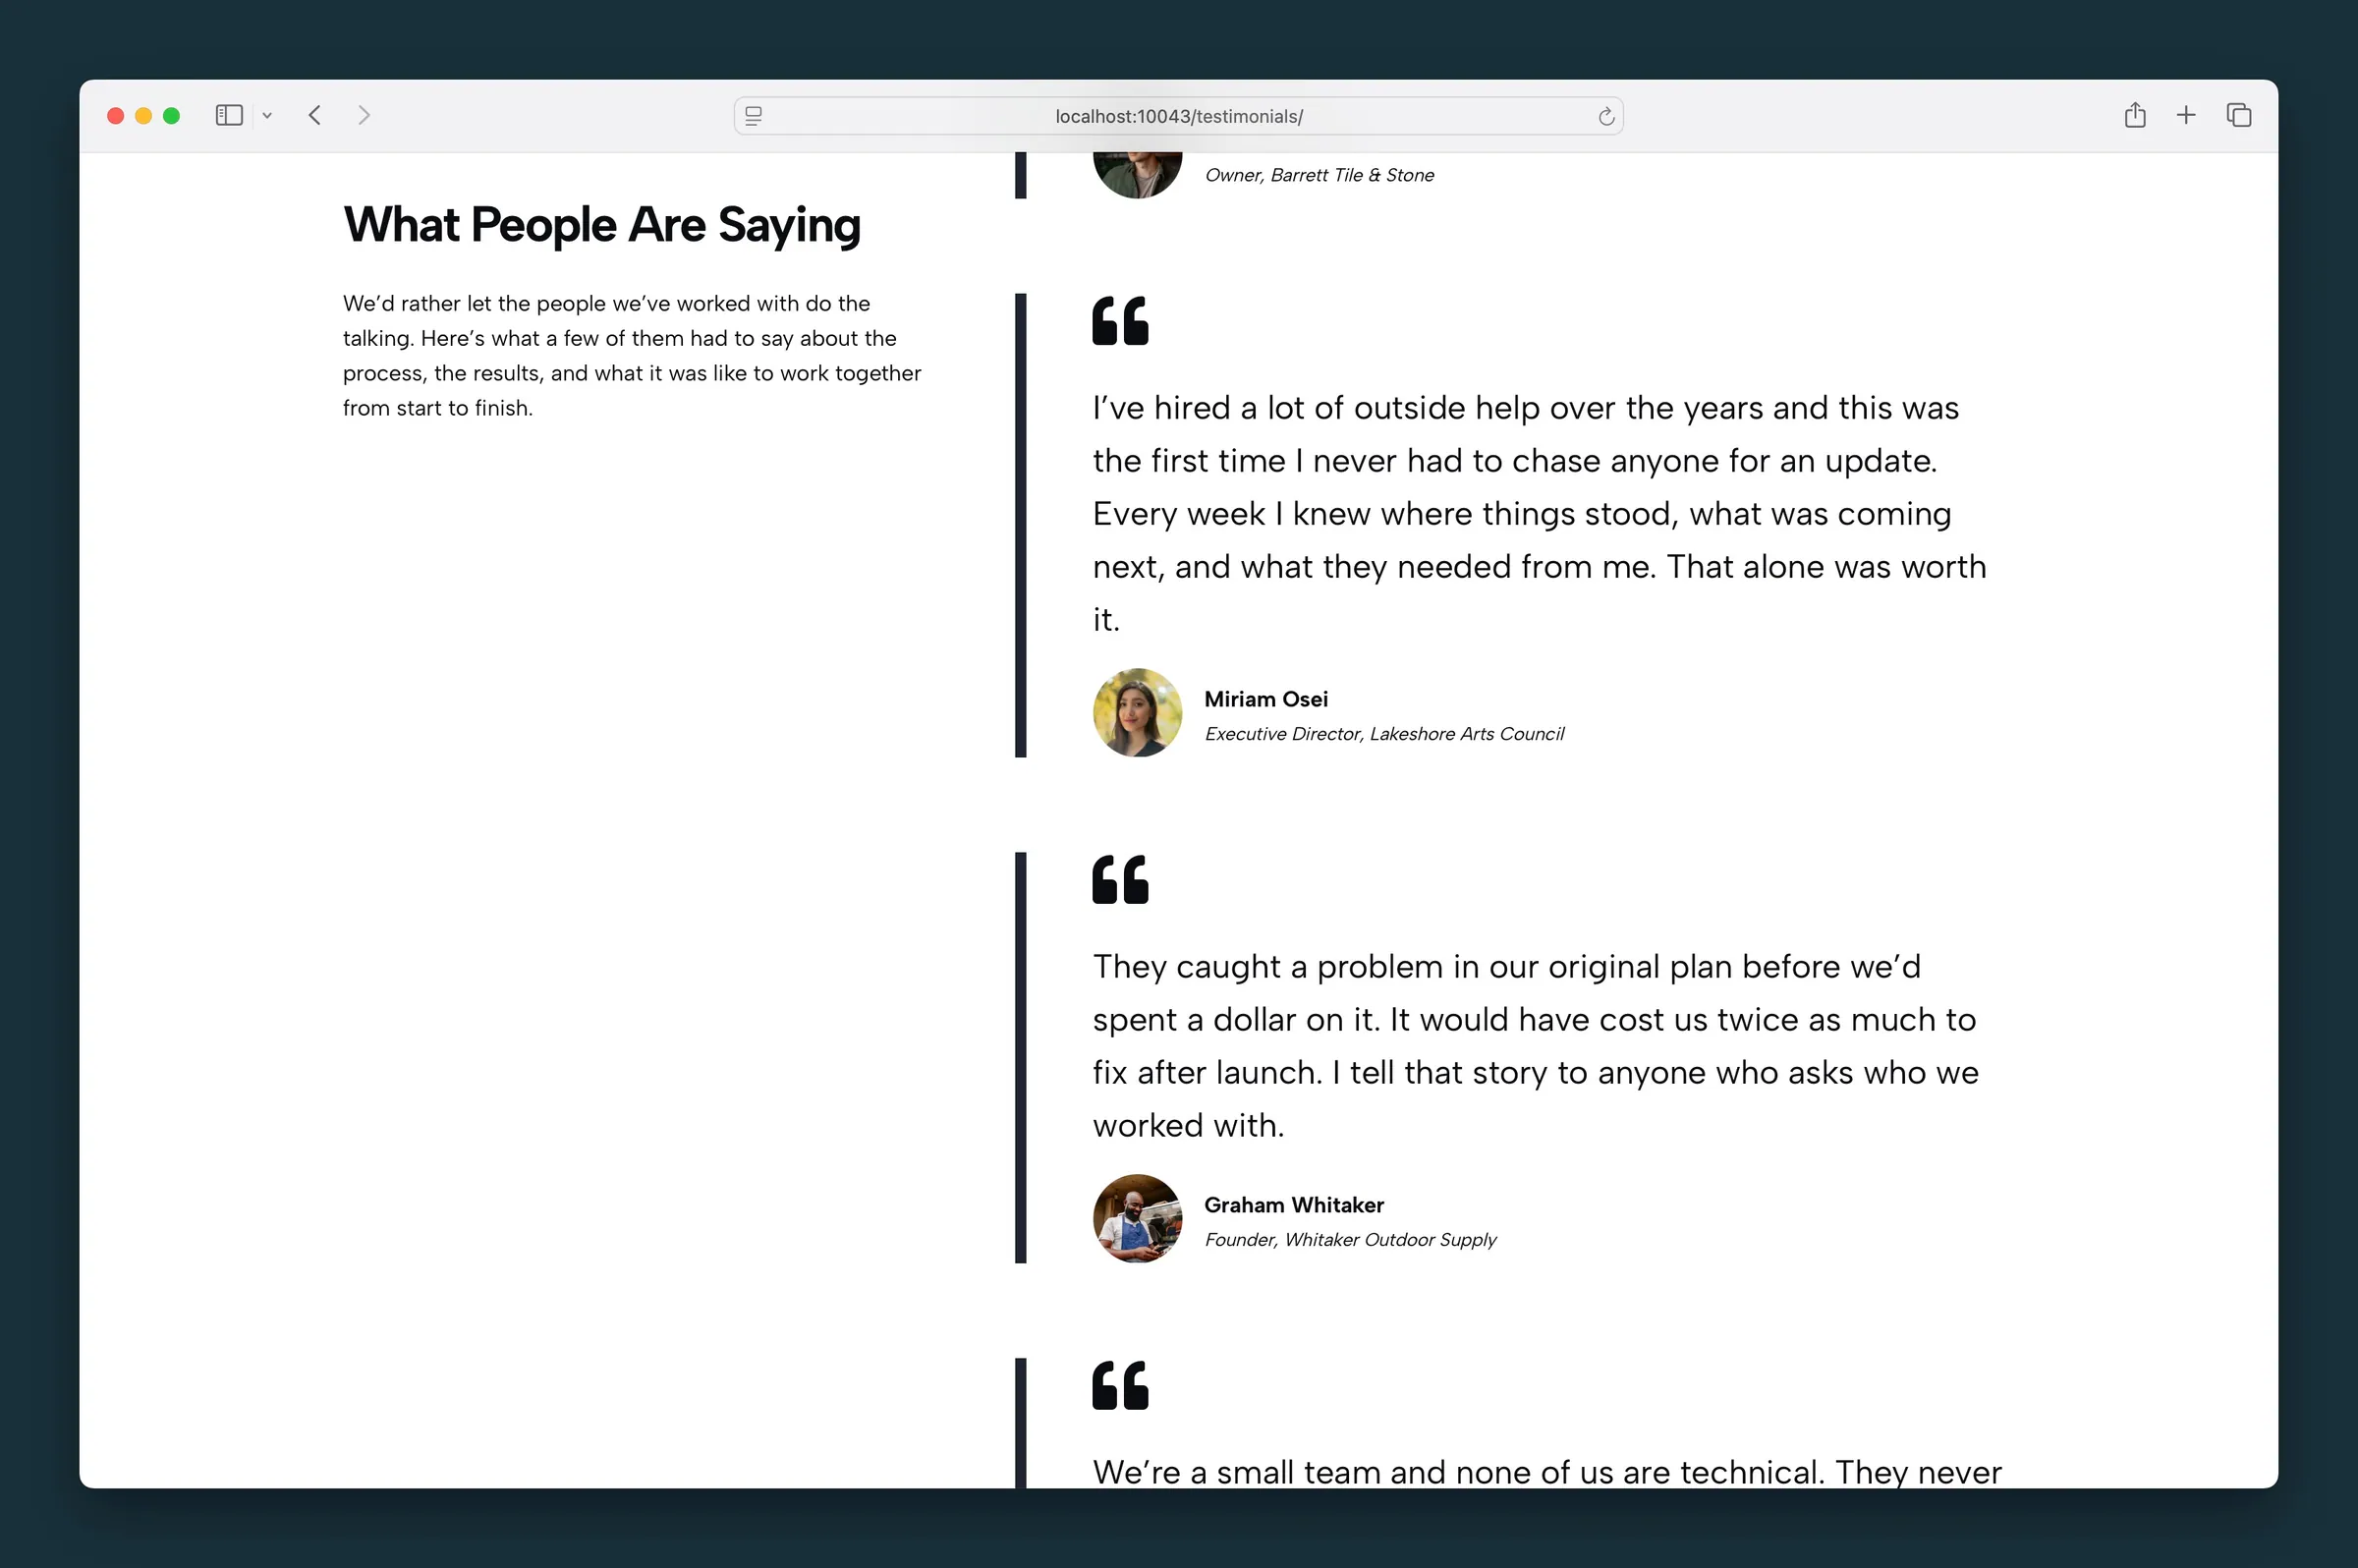
Stacked testimonials beside an intro column — left accent bar, quote mark, and citation with headshot. -
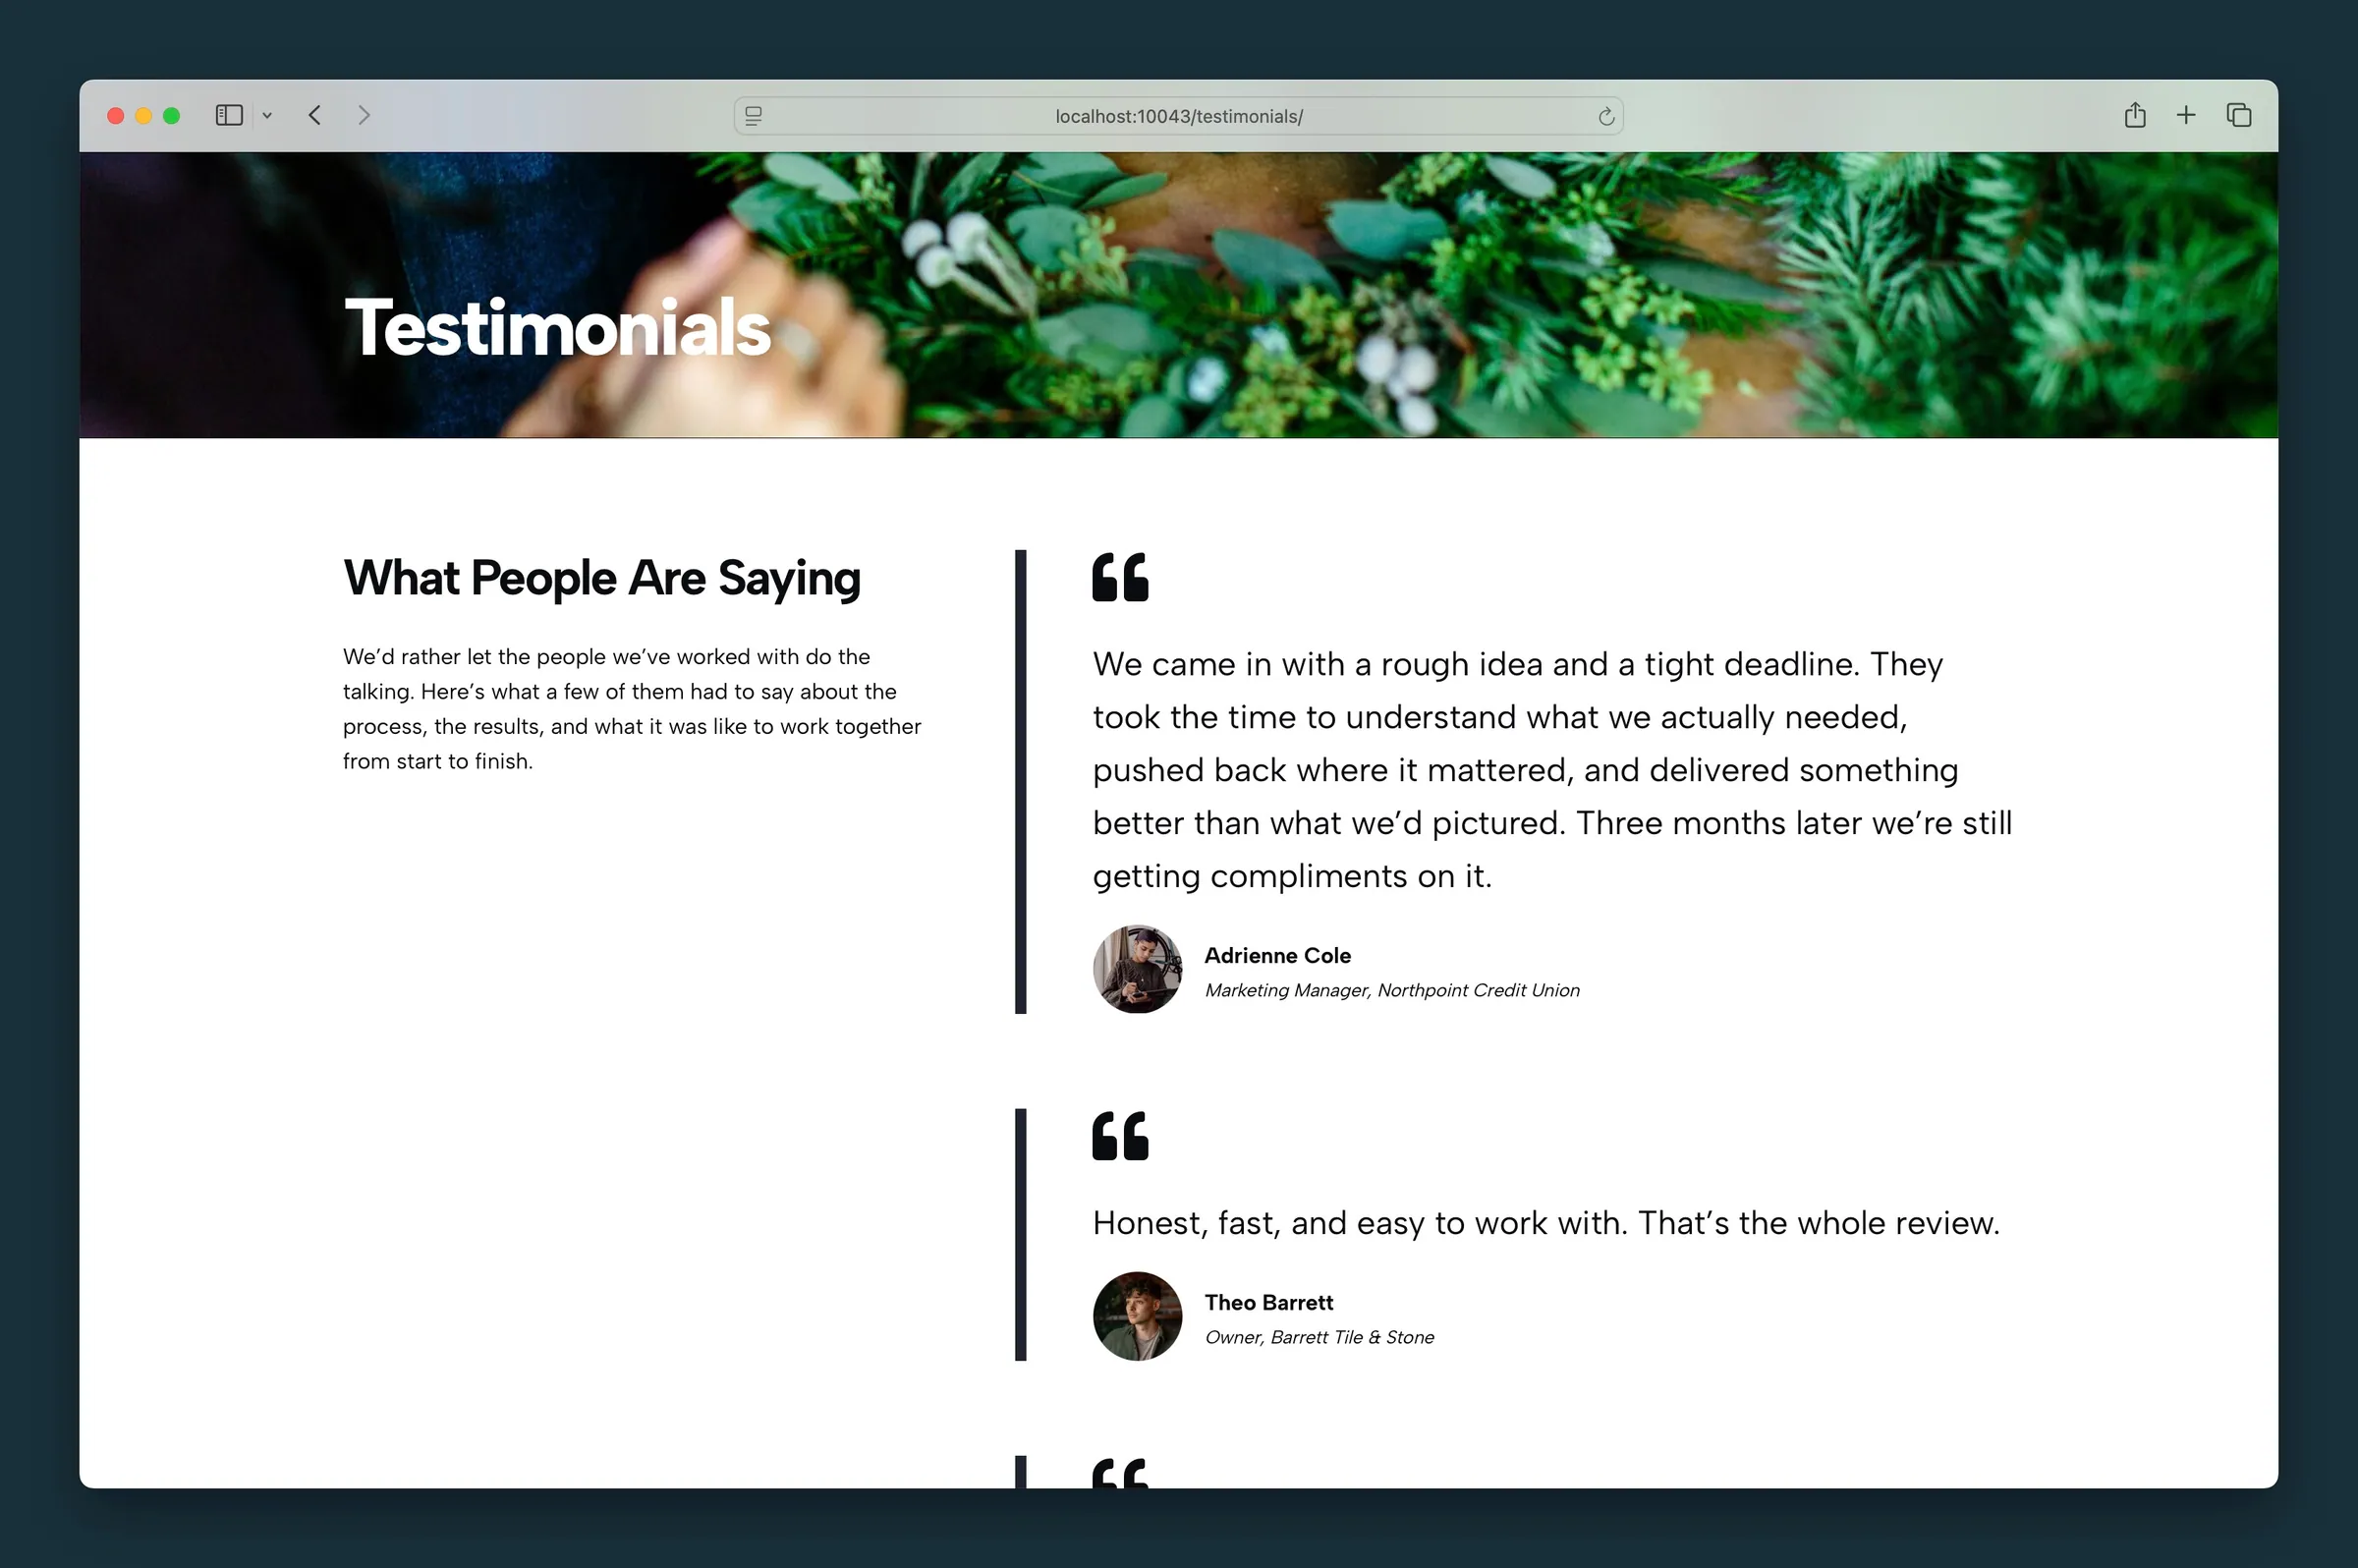
The same testimonial column under a page header, with the accent bar and citations.
Editor
-
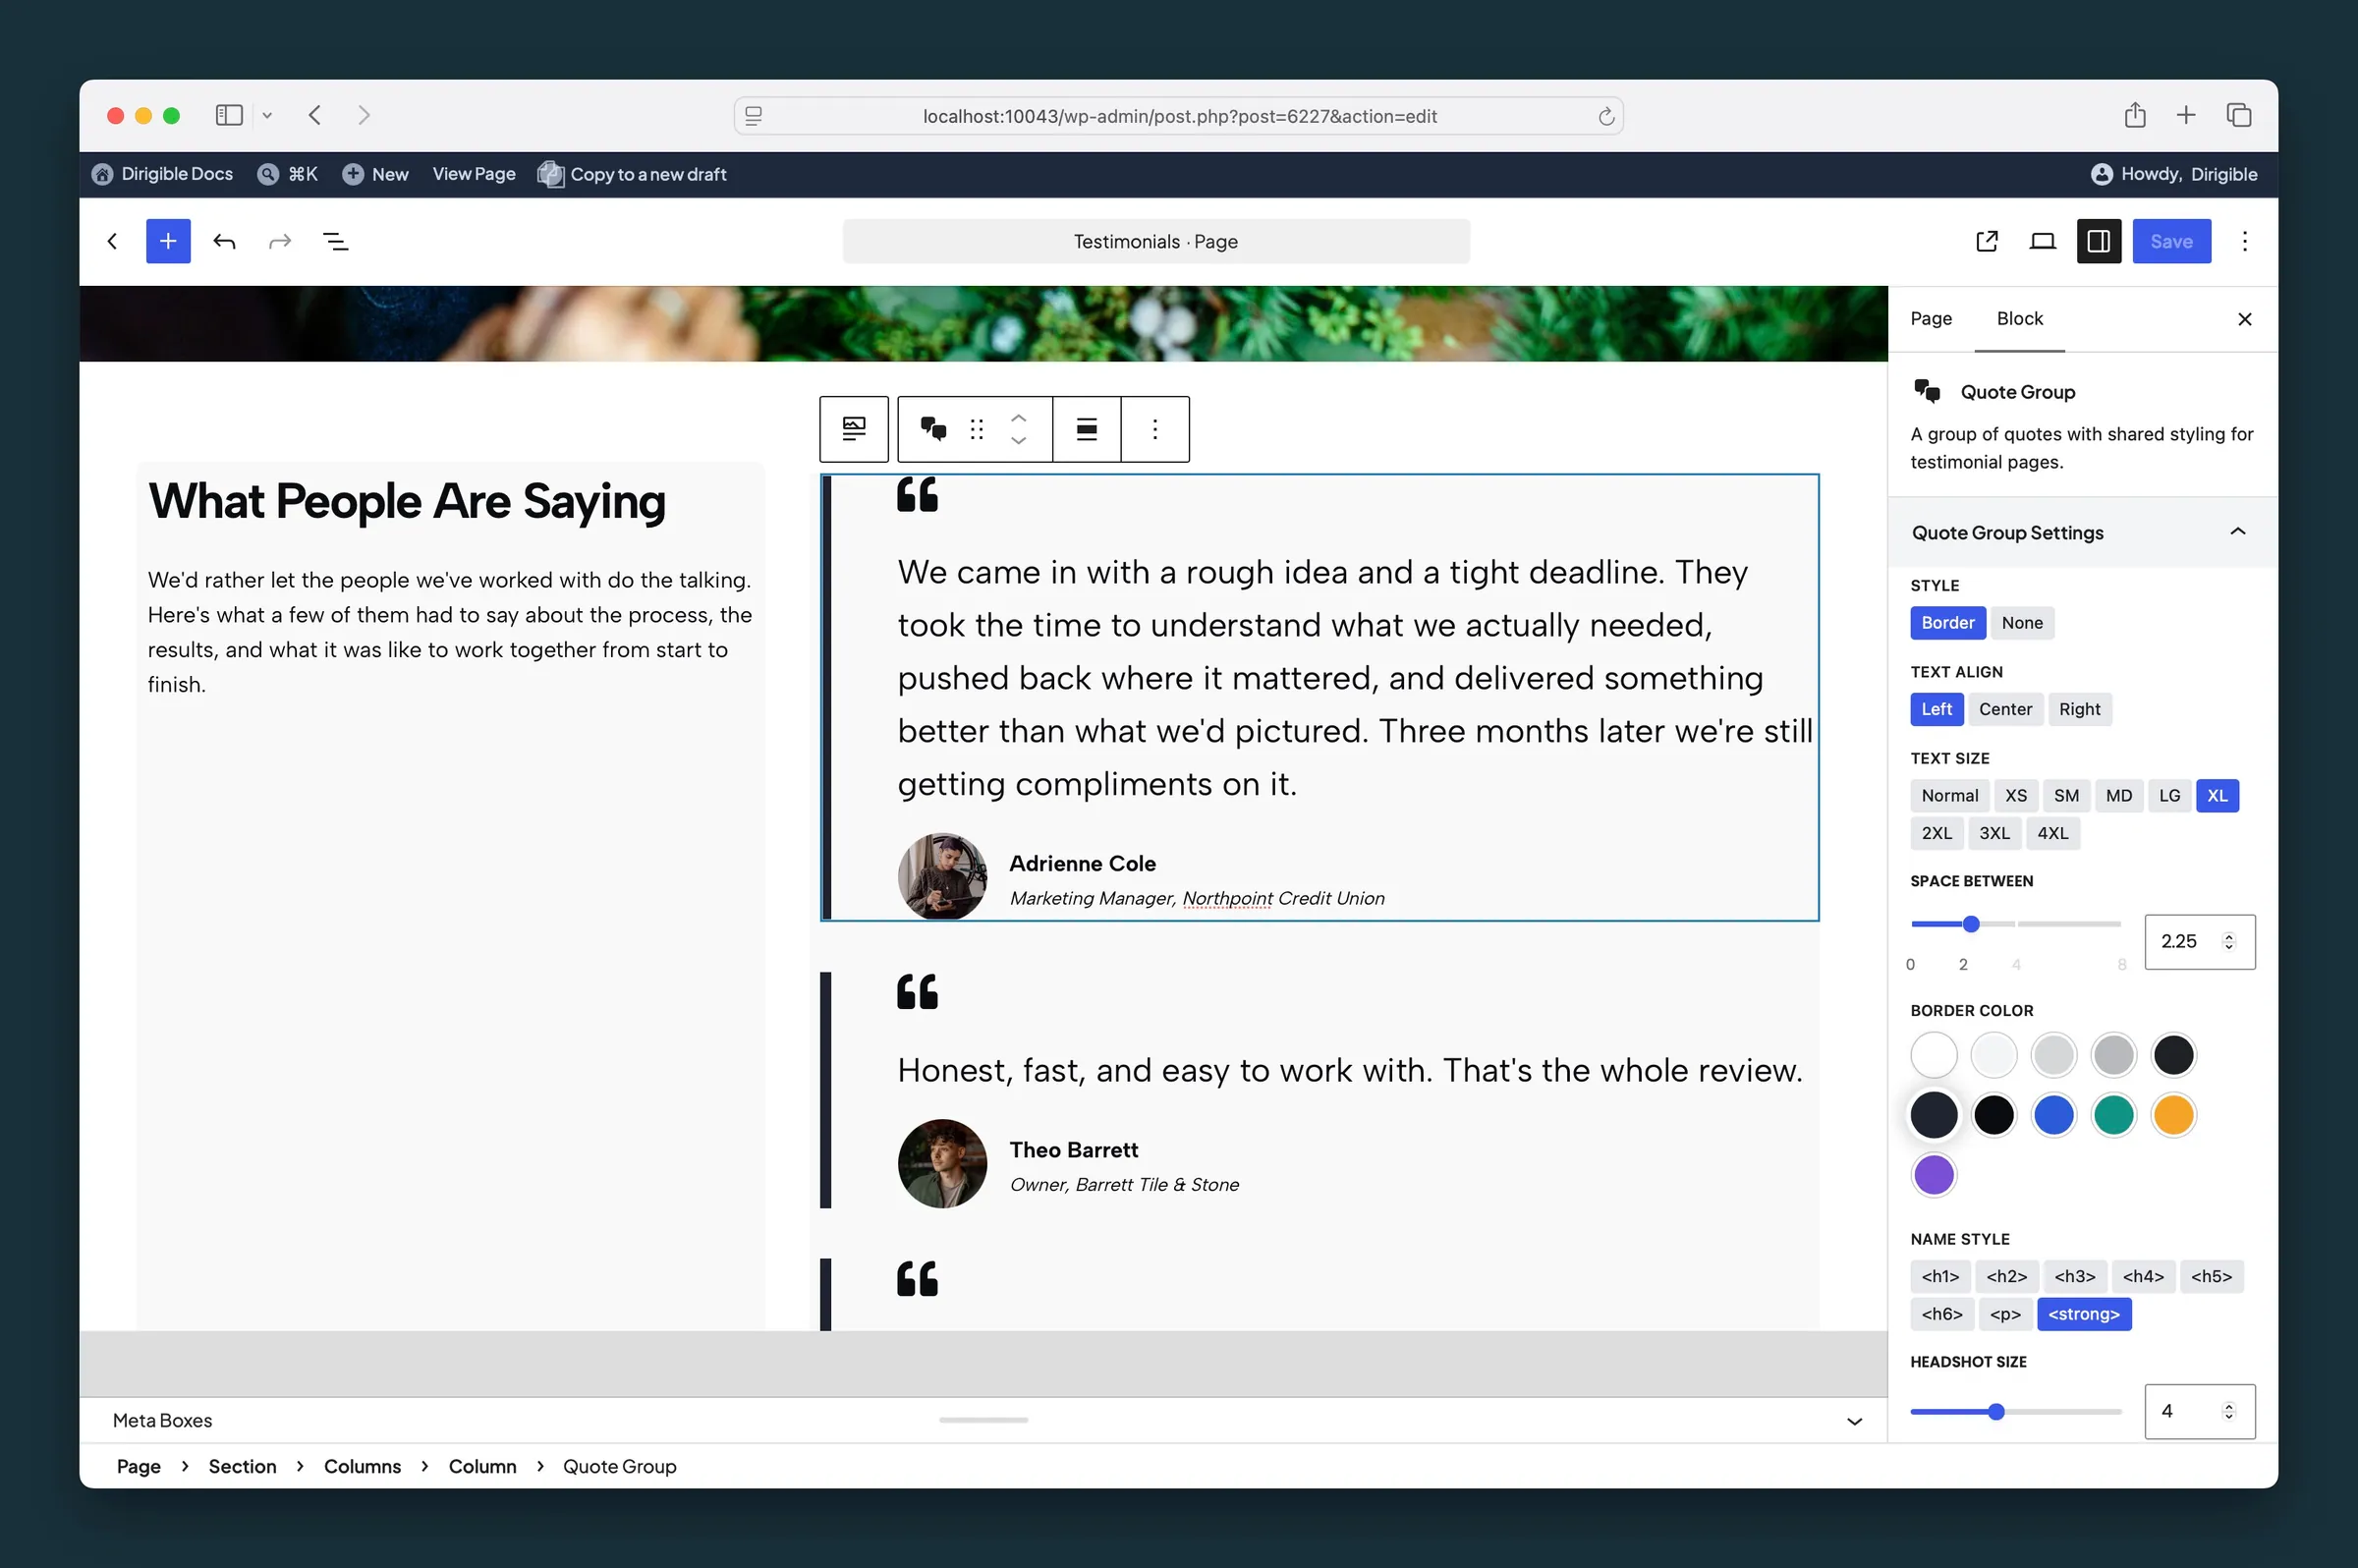
Quote Group sidebar — Style, Text Align, Text Size, Space Between, Border Color, Name Style, and Headshot Size. -
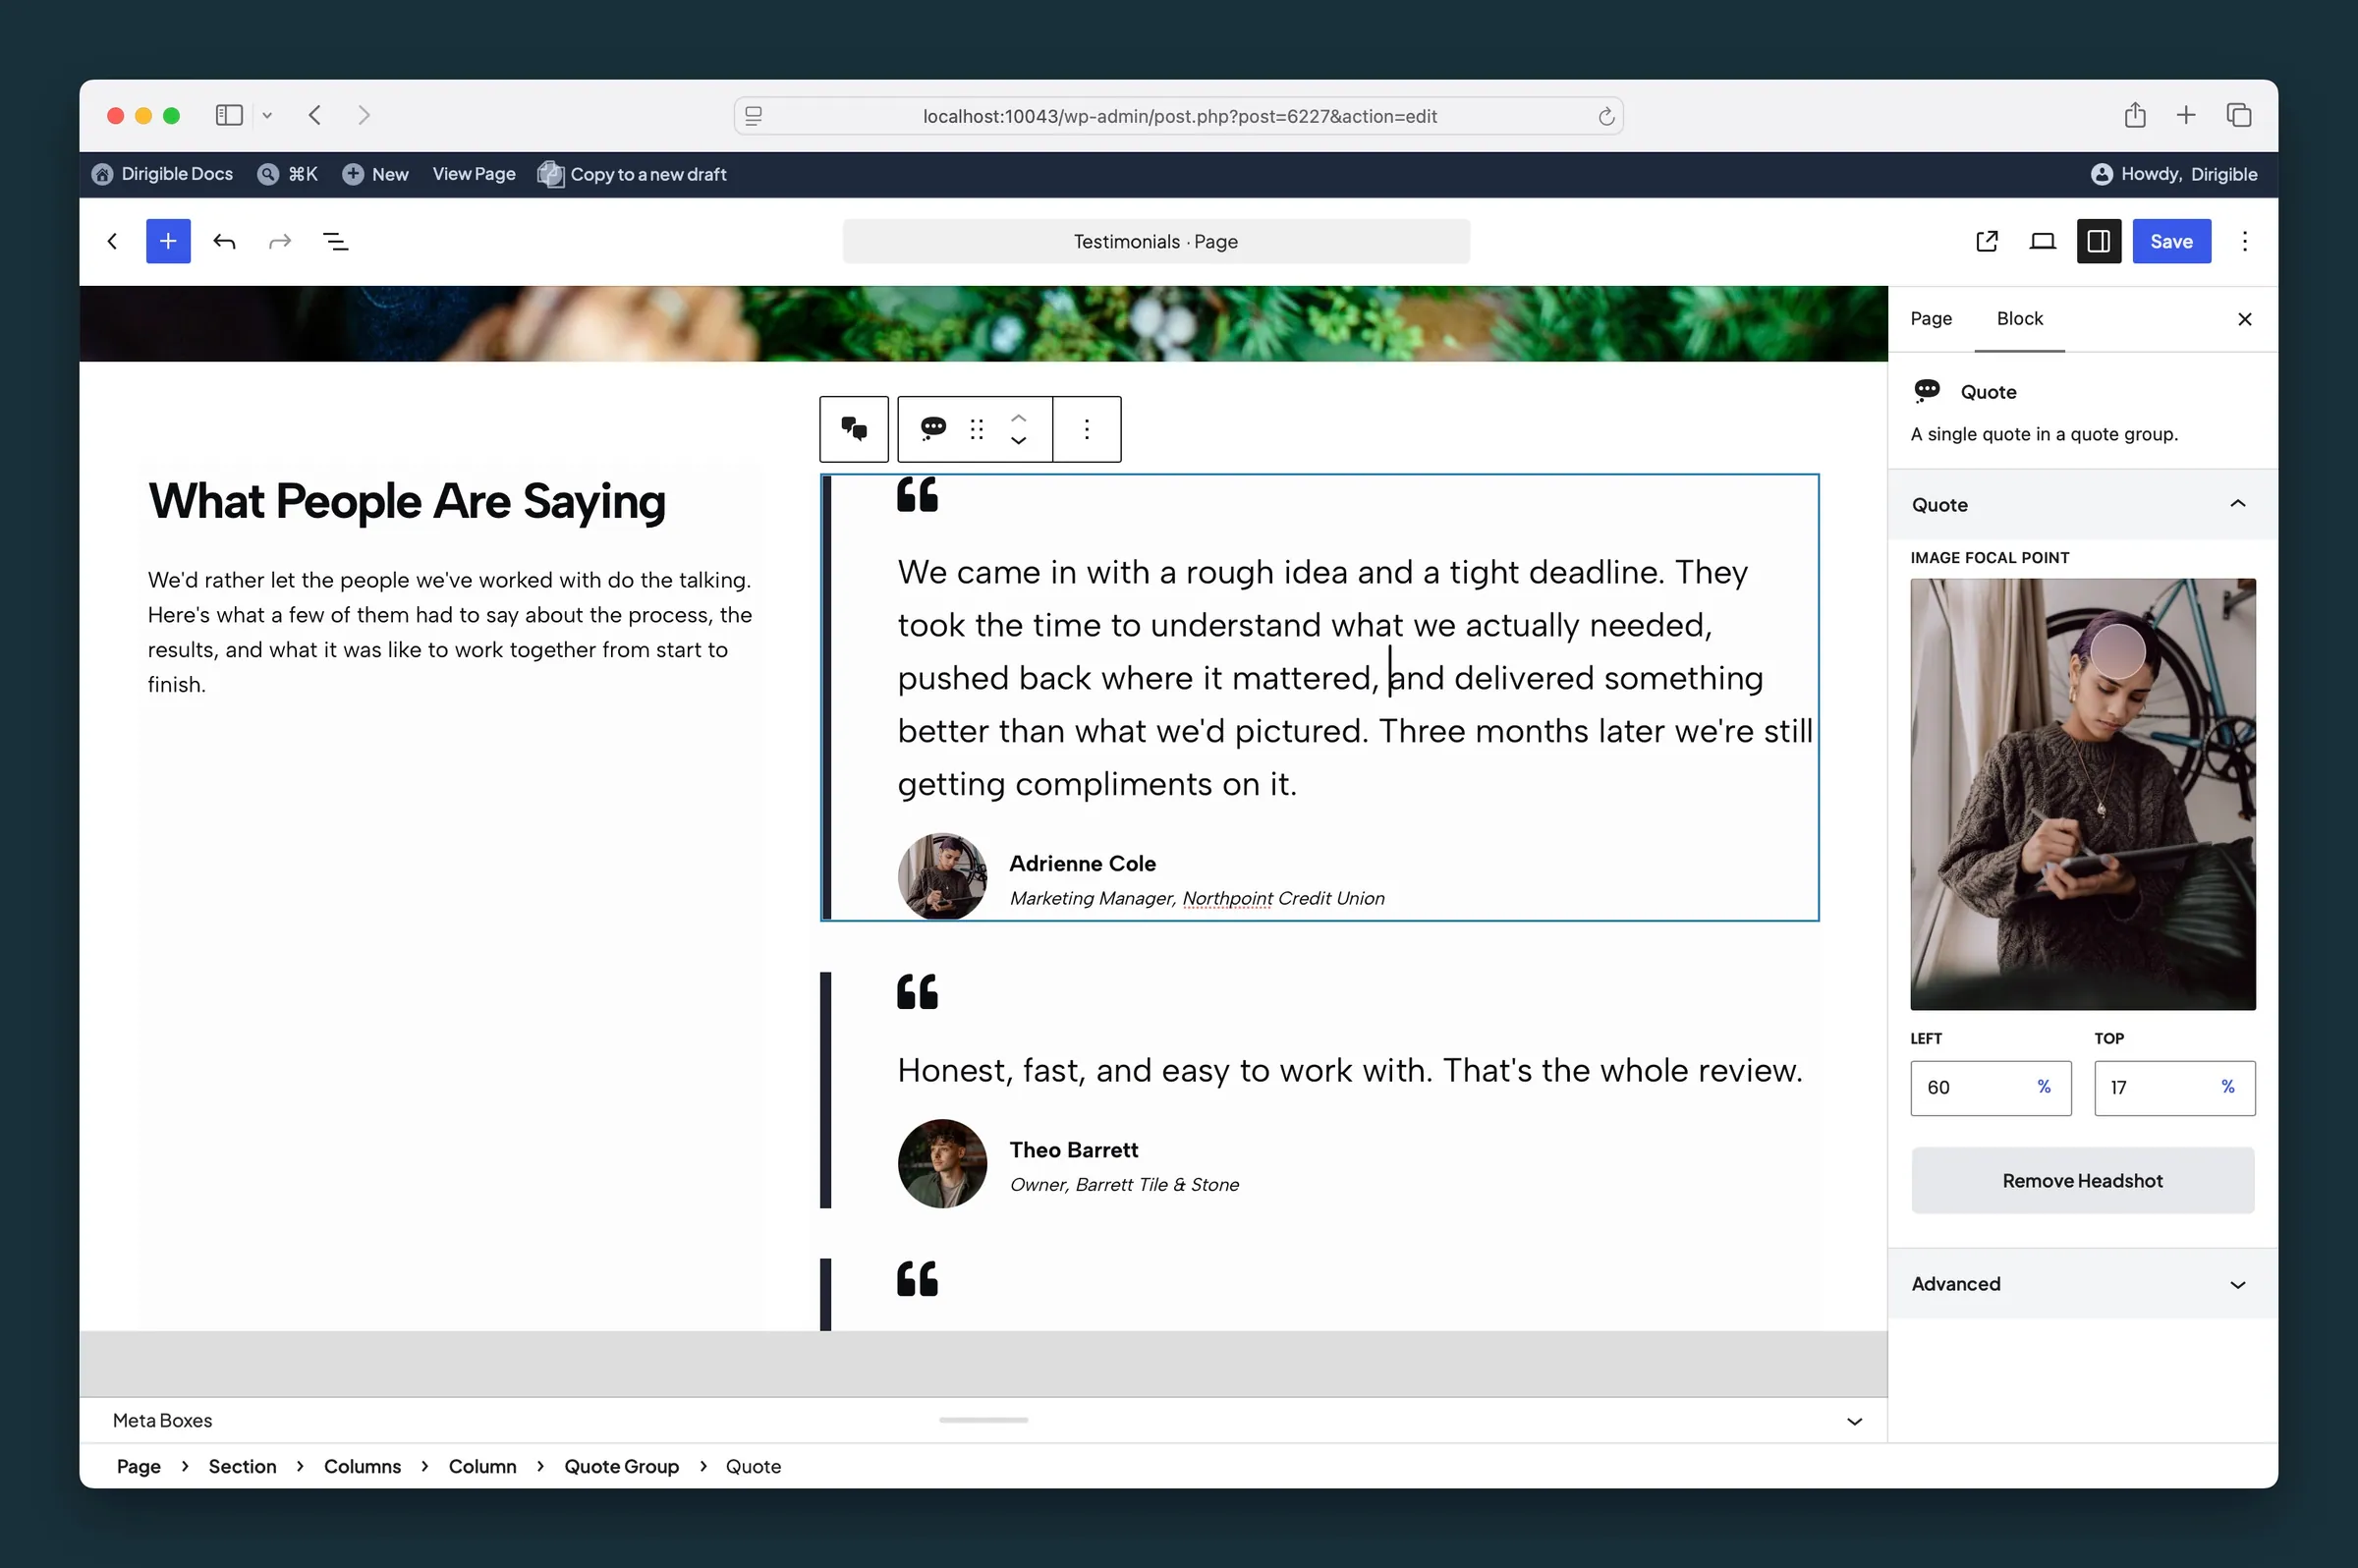
A child Quote selected — headshot focal point for that citation photo.
Settings
Quote Group Settings

Border adds a colored bar along the left of each quote. None removes it.

Aligns the text, quote mark, and name in every quote.
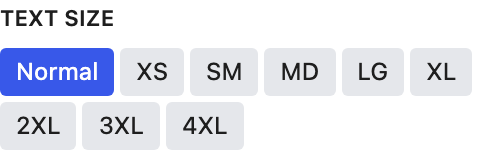
Size of the quote text in every quote. Sizes scale down on smaller screens.
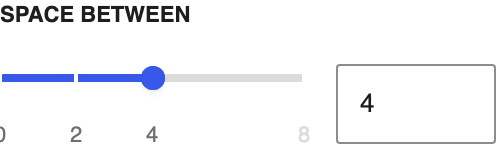
Space between the stacked quotes (0–8).
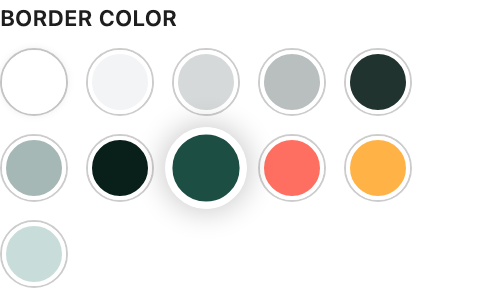
Color of the left accent bar when Style is set to Border.
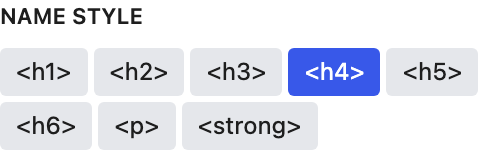
Changes how every name looks. Names stay H4s in the page outline.

Size of every headshot in the group (0–10).

Shows a decorative quote mark above each quote.
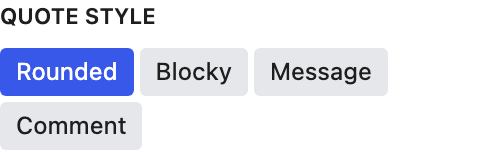
Shape of the quote mark.
Quote

Drag the dot so the portrait stays framed as the photo crops. It follows the image's focal point from the Media Library until you move it here; after that it's this block's own.